Appendix
Tutorials
Grasshopper
a. Quick Start
b. Adding Plug Ins
c. Data Flow: Trees and Lists
d. Clusters
Coursework
Episode 1: On Scale
a. Quick guide to AggregateFill_v002.gh
b. File preparation: Bitmap “etching” and Photoshop Actions
c. Details: basic physics, PhysX and Kangarood. Details: Slurry Filler
e. Details: Thick Bitmaps
Episode 2: On Depth
a. Digital weaving resources
b. Photocomposites
c. Indexing Color
d. Image Threading
e. Weaving Patterns
f. 3D Image Weaving
g. Weave Object
h. Animate Weaving
Grasshopper
a. Quick Start
The best way to learn grasshopper (or any software) is to follow these recommendations:
1. Refer to many sources for tutorials. Every instructor and designer uses the software in a different way. The tutorials here will emphasize building tools for design. It’s best to watch the introduction video to both refresh basic concepts and to see what details are highlighted. You can find several tutorails on the Grasshopper3d.com website.
2. Jump straight in and do not be afraid to break things. Grasshopper has a very generous community of makers that will post their definitions (gh term for script) on Grasshopper3D.com, the discourse.mcneel.com, and other personal websites like this. Download the definition, read forward and back, then try to remake it from scratch. When you are feeling a bit more confident, try to combine two found definitions.
3. Start with simple tasks that you might otherwise do in Rhino. This is the best way to learn how to navigate the various tabs and components of grasshopper. Starting suggestion: make a grid of lines.
4. Pay attention to the terminology used in the tutorials. This will help you make effective searches when you get stuck.
5. Teach or tutor a peer what you’ve learned, even without mastering the software yourself. This will reinforce the knowledge and understanding you have of how the software works.
Resources
grasshopper3D.com - The original community website, this has a vast archive of useful material.
discourse.mcneel.com - Most of the discussion boards from grasshopper3d were carried over here to consolidate all of the Rhino product forums.
Food4Rhino.com - A fantastic source of Rhino and Grasshopper plug-ins. In the next few years, most of these will be added to the Package Manager described below.
Modelab’s Grasshopper Primer - A super clear pdf describing the core components of grasshopper.
b. Adding Plug-Ins
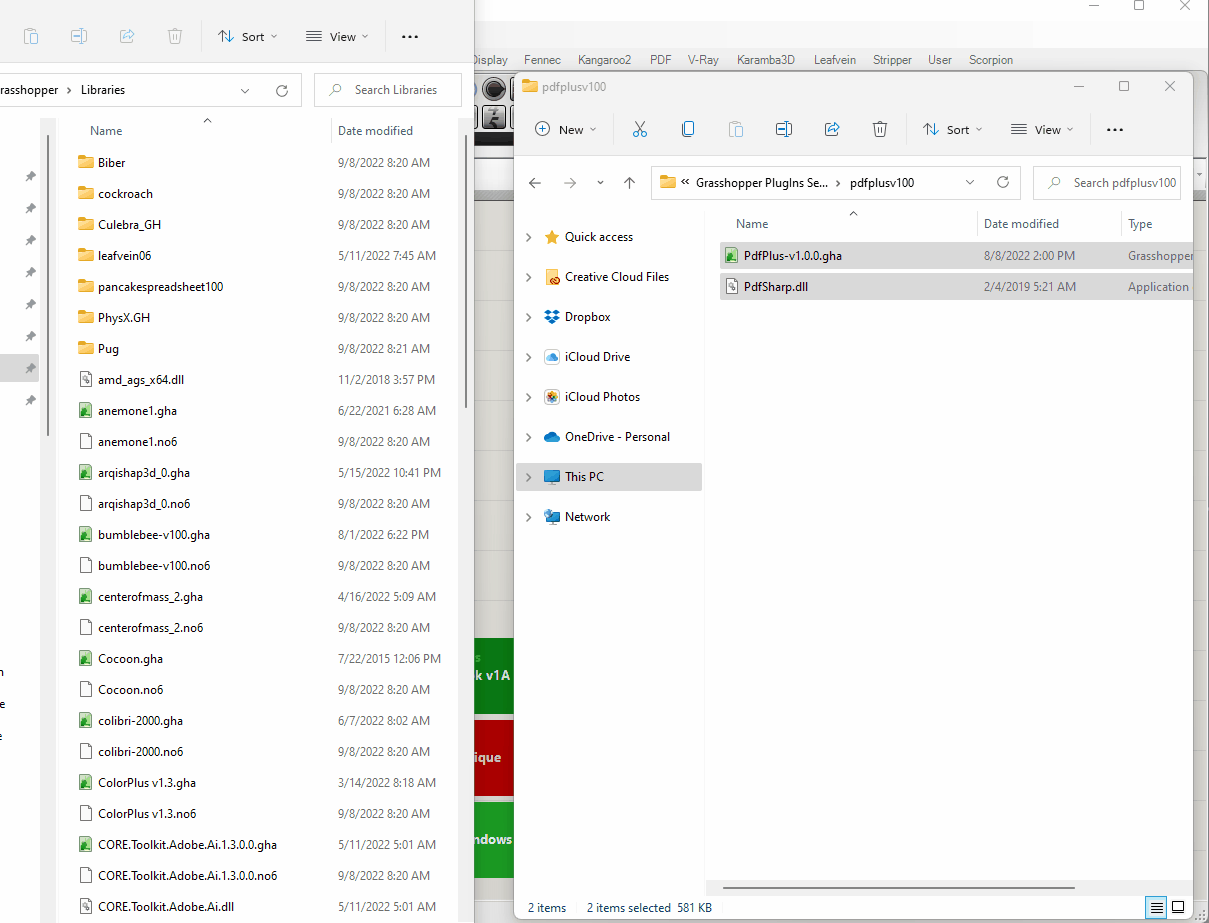
*note: it is recommended you install the requisite plug-ins prior to the start of the tutorials.Plug-Ins are an essential part of extending the functionality of Grasshopper, and for Rhino as a tool that can compete with other advanced digital softwares. Most plug-in are created by members of the Grasshopper community independent from McNeel, the makers of Rhino. They are updated regularly and require independent tracking of those updates for new components and function. Plug-ins will be formatted as .gha or .ghuser files. The former are library plugins, the latter “User Objects.” These will get installed in different folders described below. There are two common ways of finding and installing plugins, the first (and easiest) is through the PackageManager command in Rhino. The second is by finding the plugin on Food4Rhino.com and manually installing into the plug ins folder. Follow the instructions for each below and/or watch this video.
PackageManager Install
Manual Installation
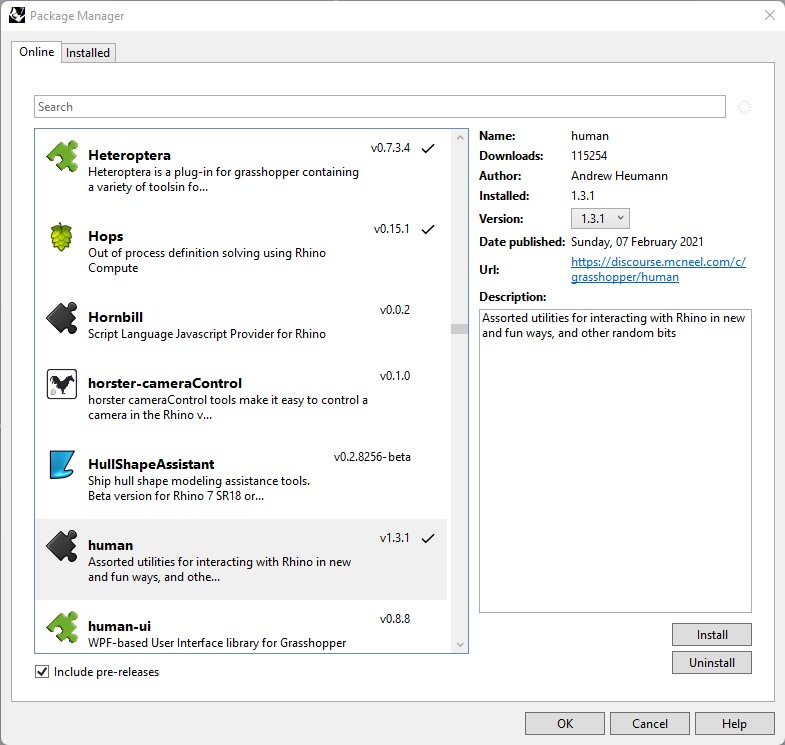


Recommended PackageManager PlugIns:
Corgi, Dendro, Elefront, Fennec, Human, Heteroptera, Ivy, Ngon, OpenNest, SidePanel, Stripper, VoxelTools, Weaverbird, Wombat
Corgi, Dendro, Elefront, Fennec, Human, Heteroptera, Ivy, Ngon, OpenNest, SidePanel, Stripper, VoxelTools, Weaverbird, Wombat
Recommended Food4Rhino.com PlugIns:
Anemone, Bitmap+, MeshEdit, PhysX, pOd, Pufferfish, Rooster, TreeSloth
Anemone, Bitmap+, MeshEdit, PhysX, pOd, Pufferfish, Rooster, TreeSloth
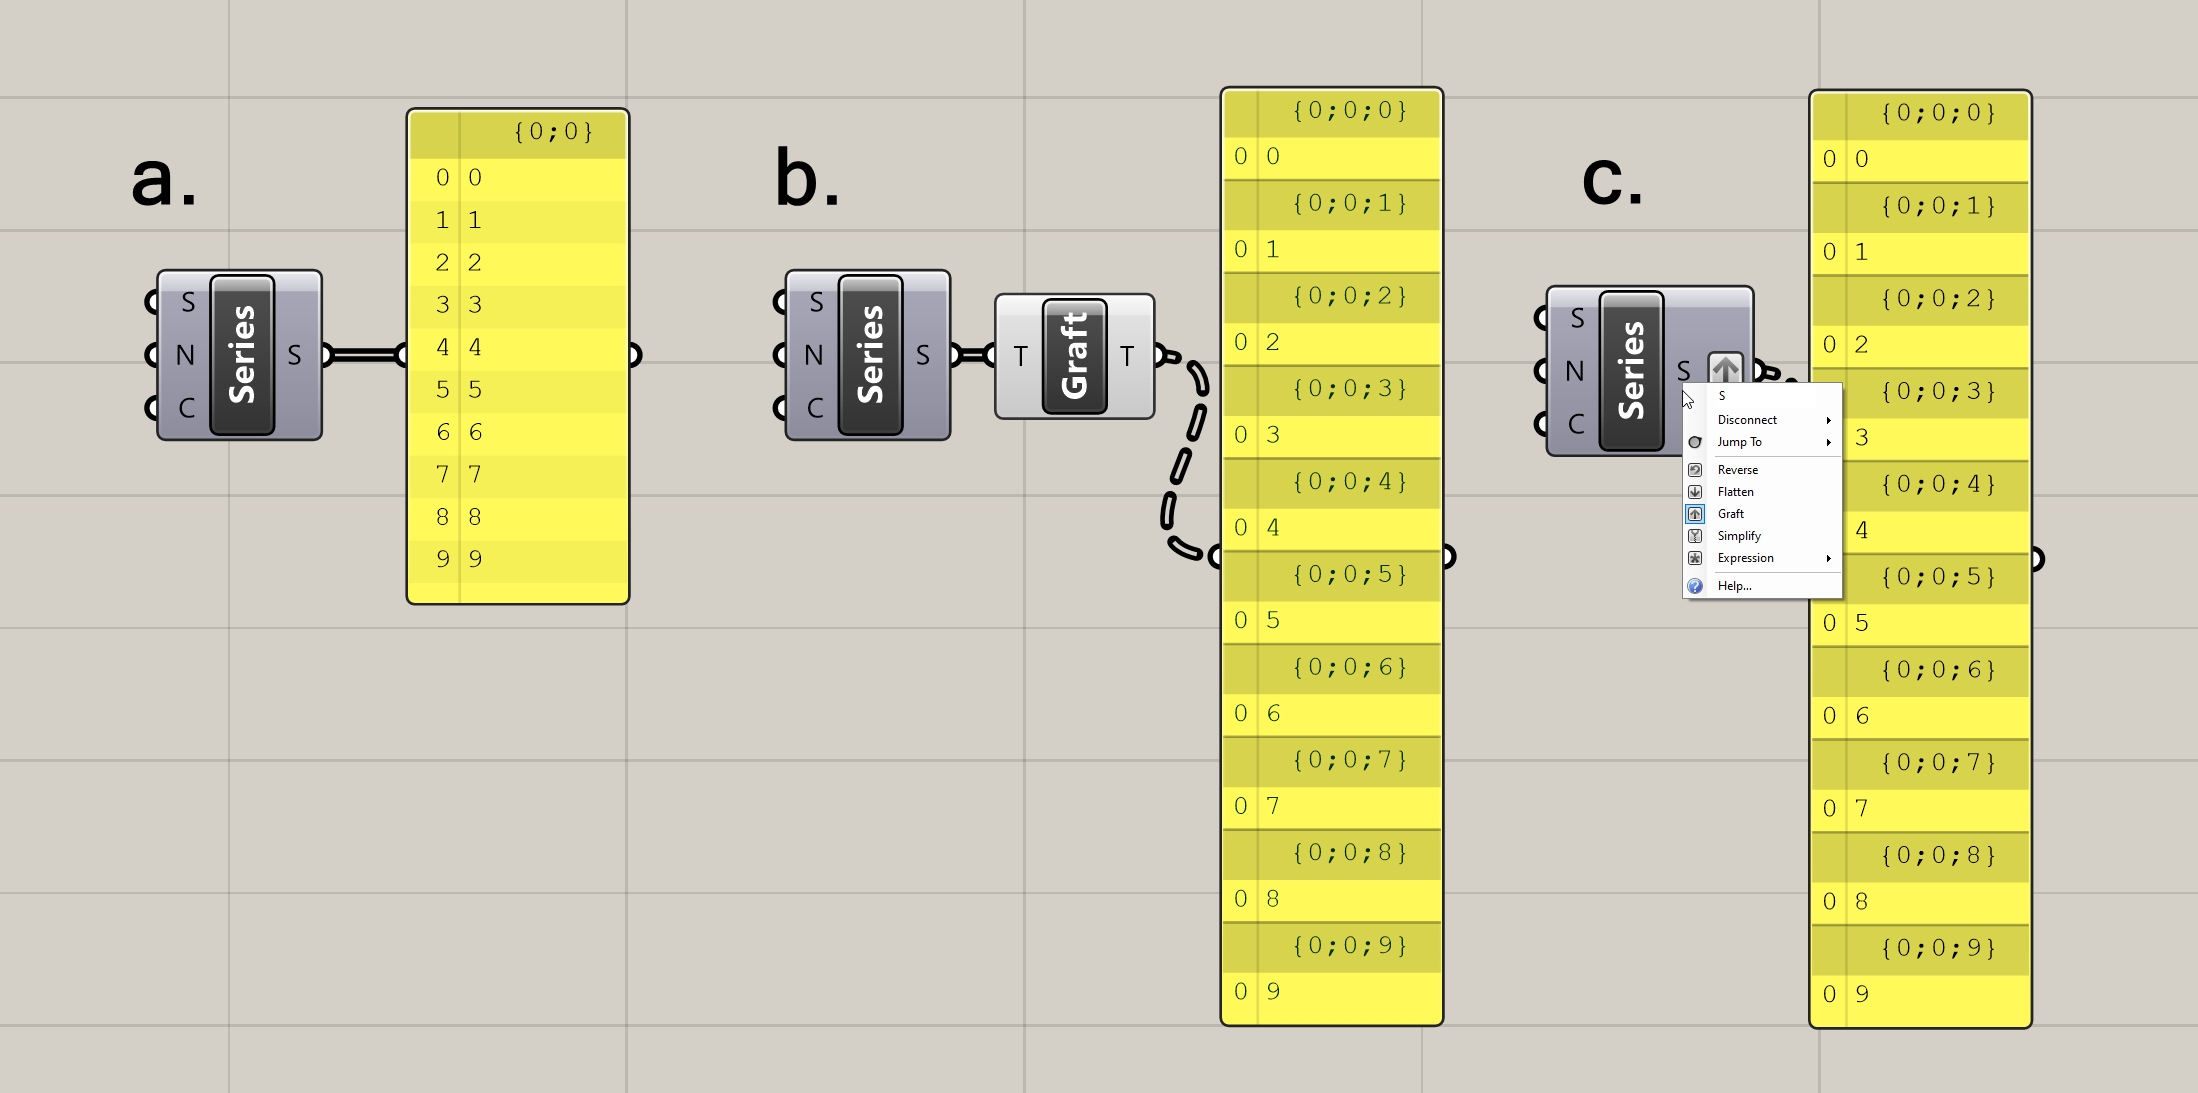
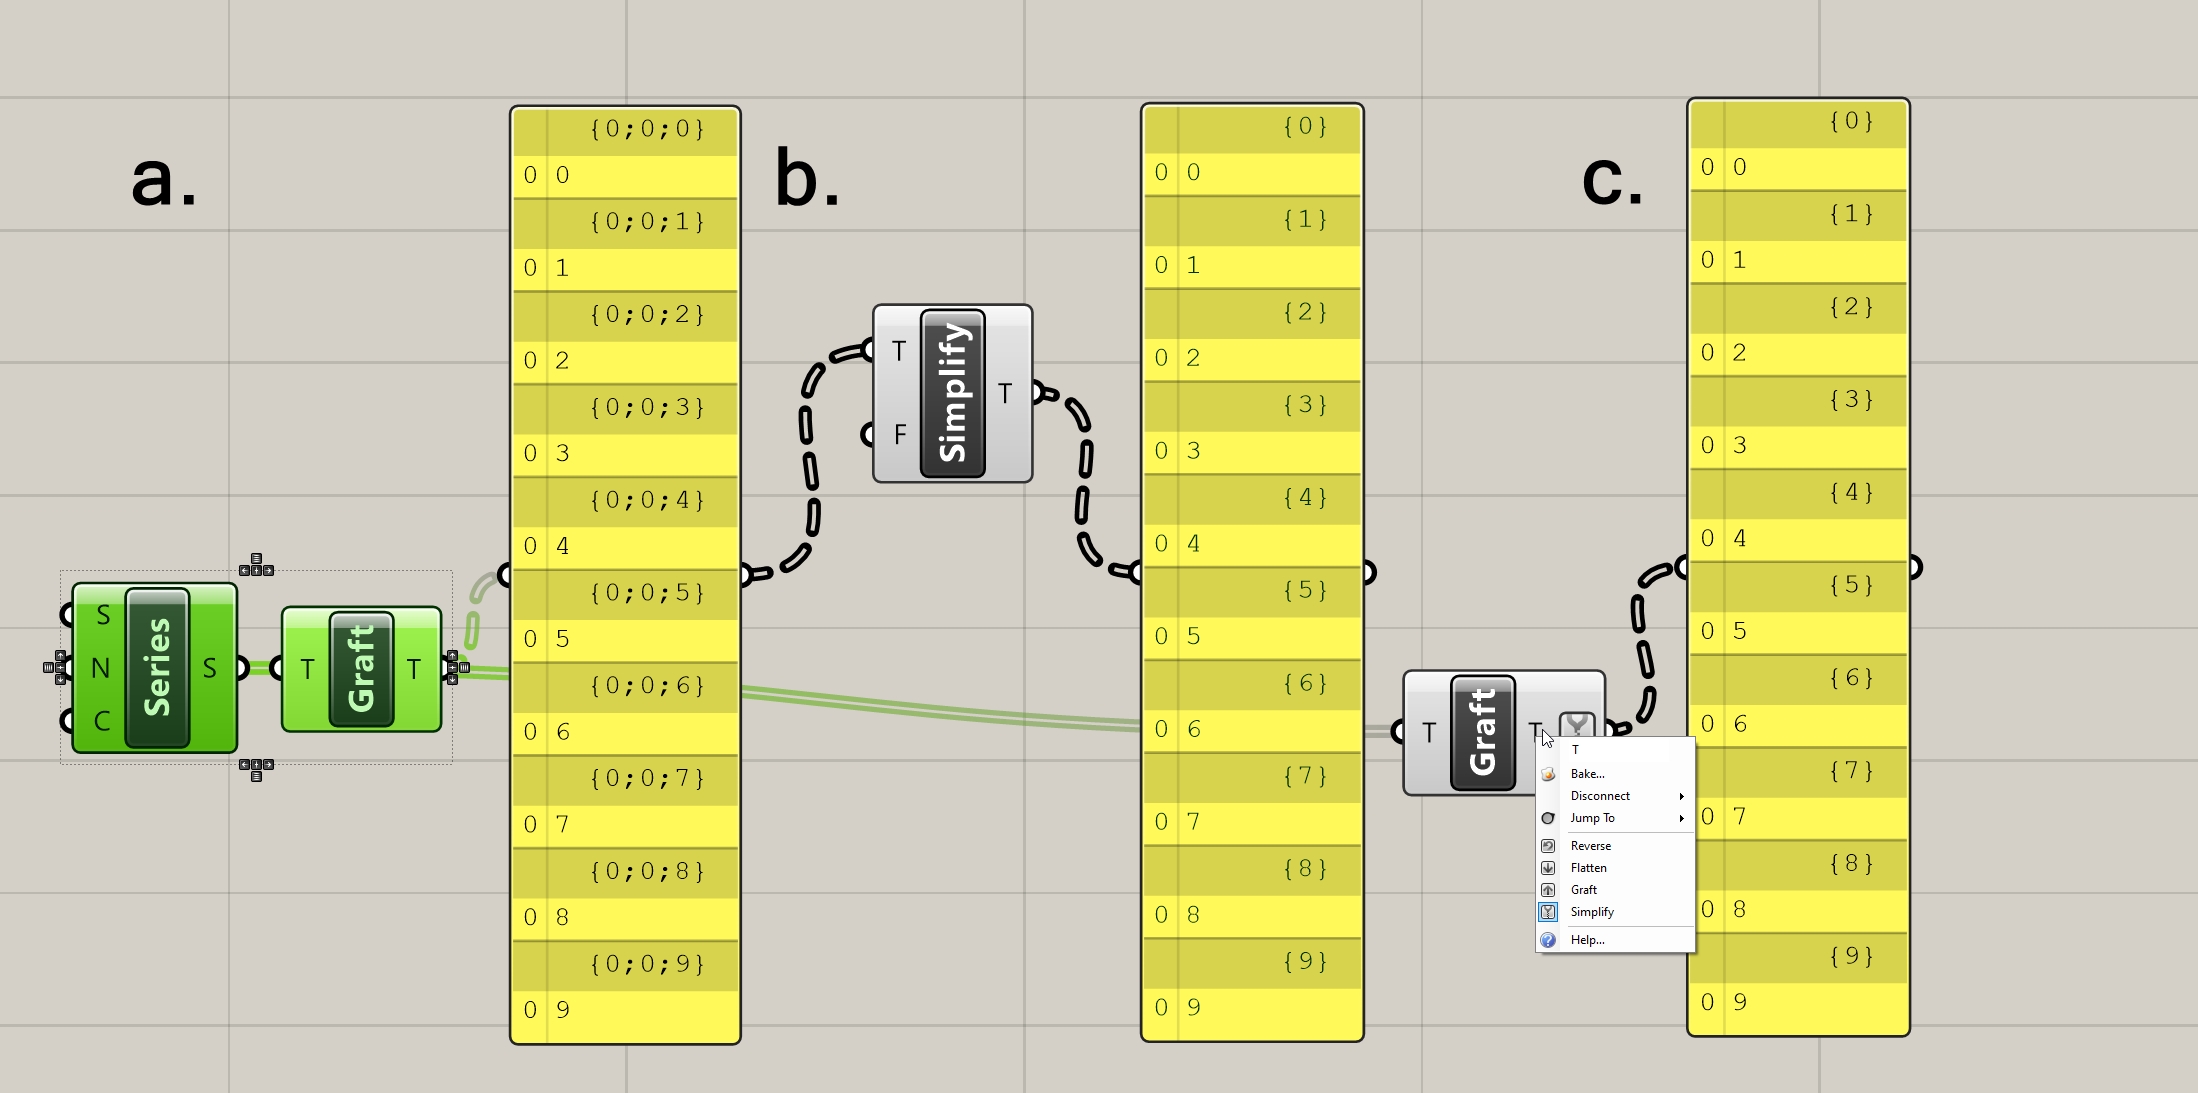
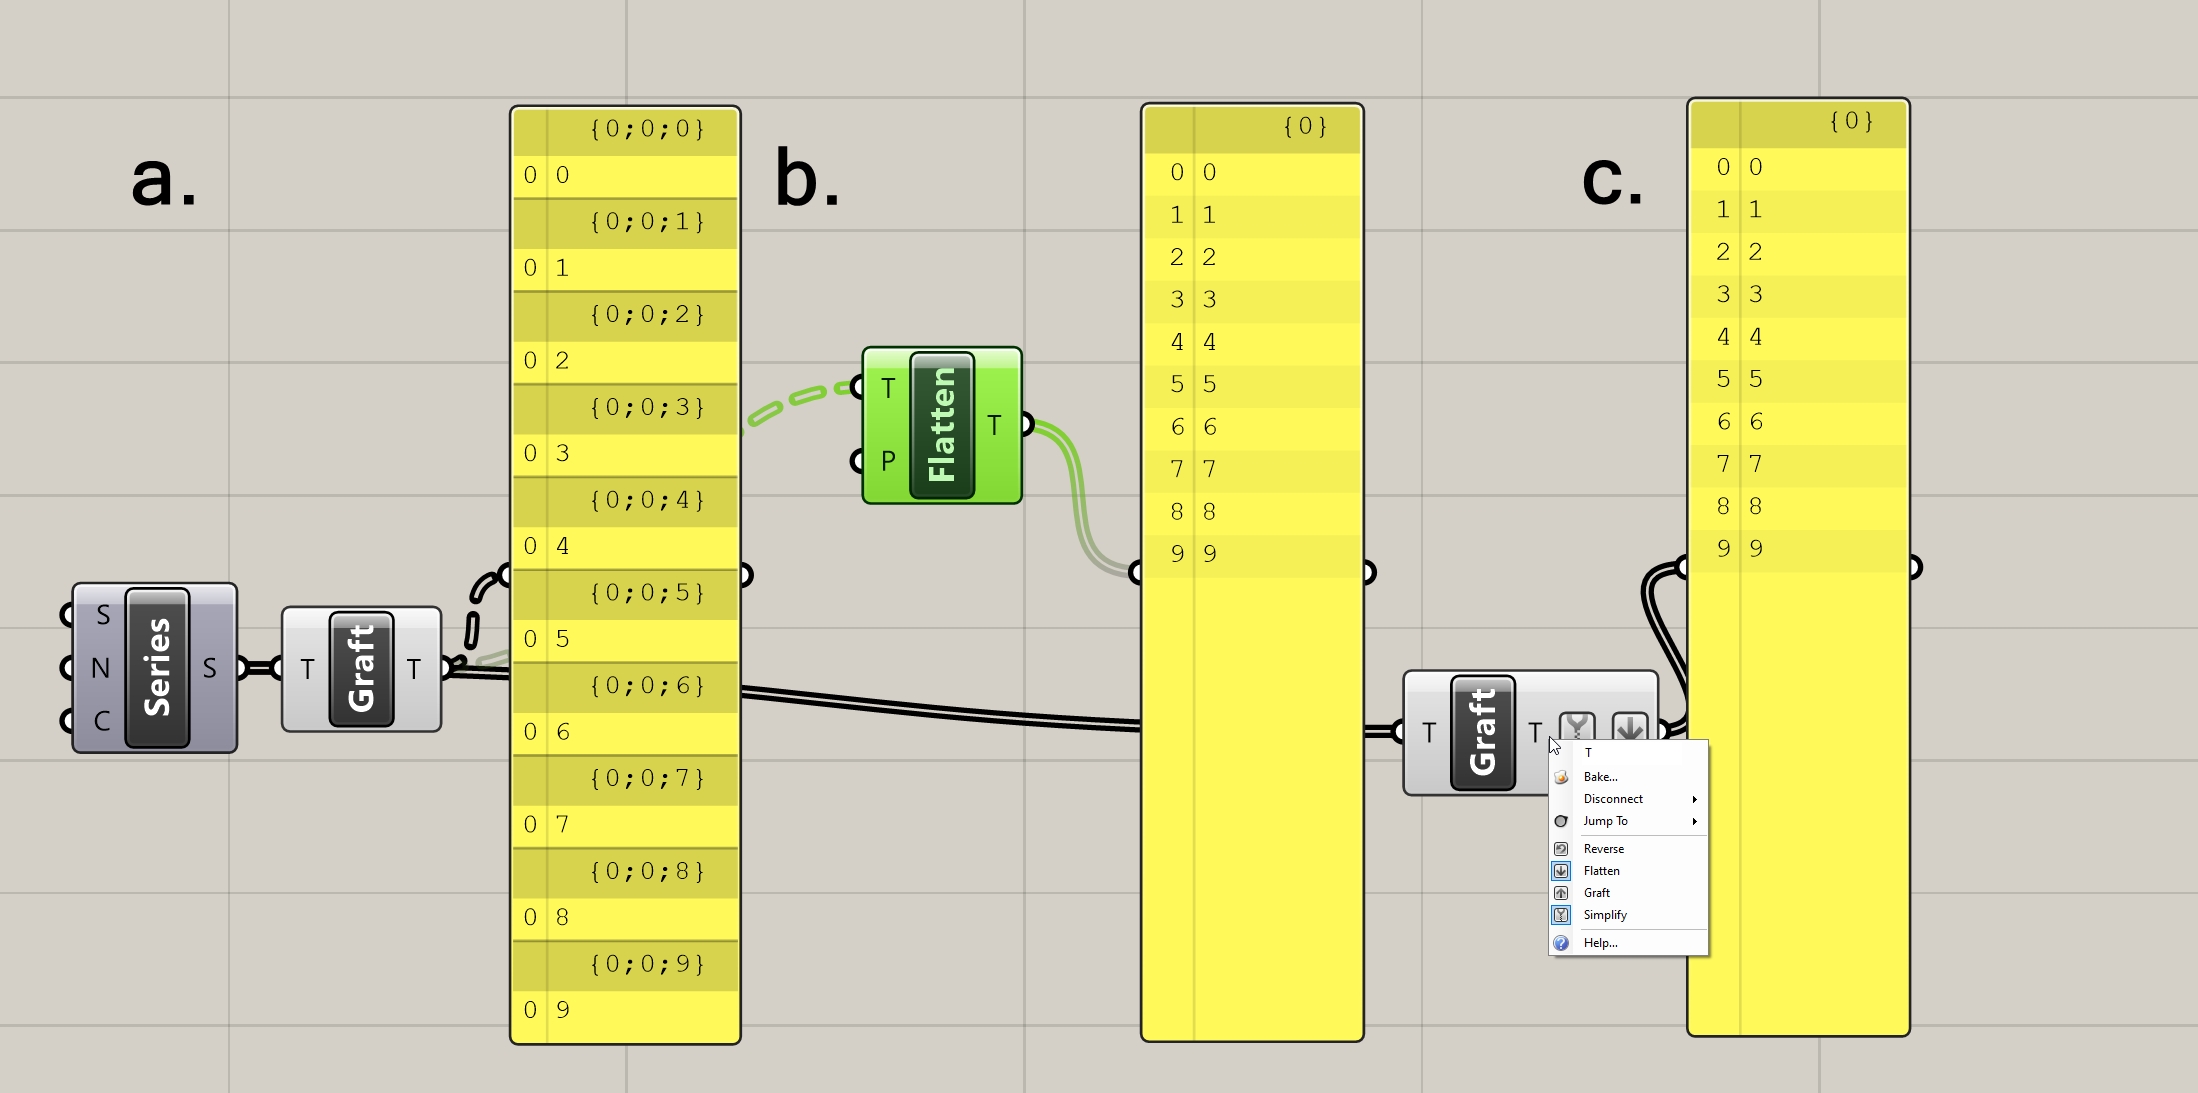
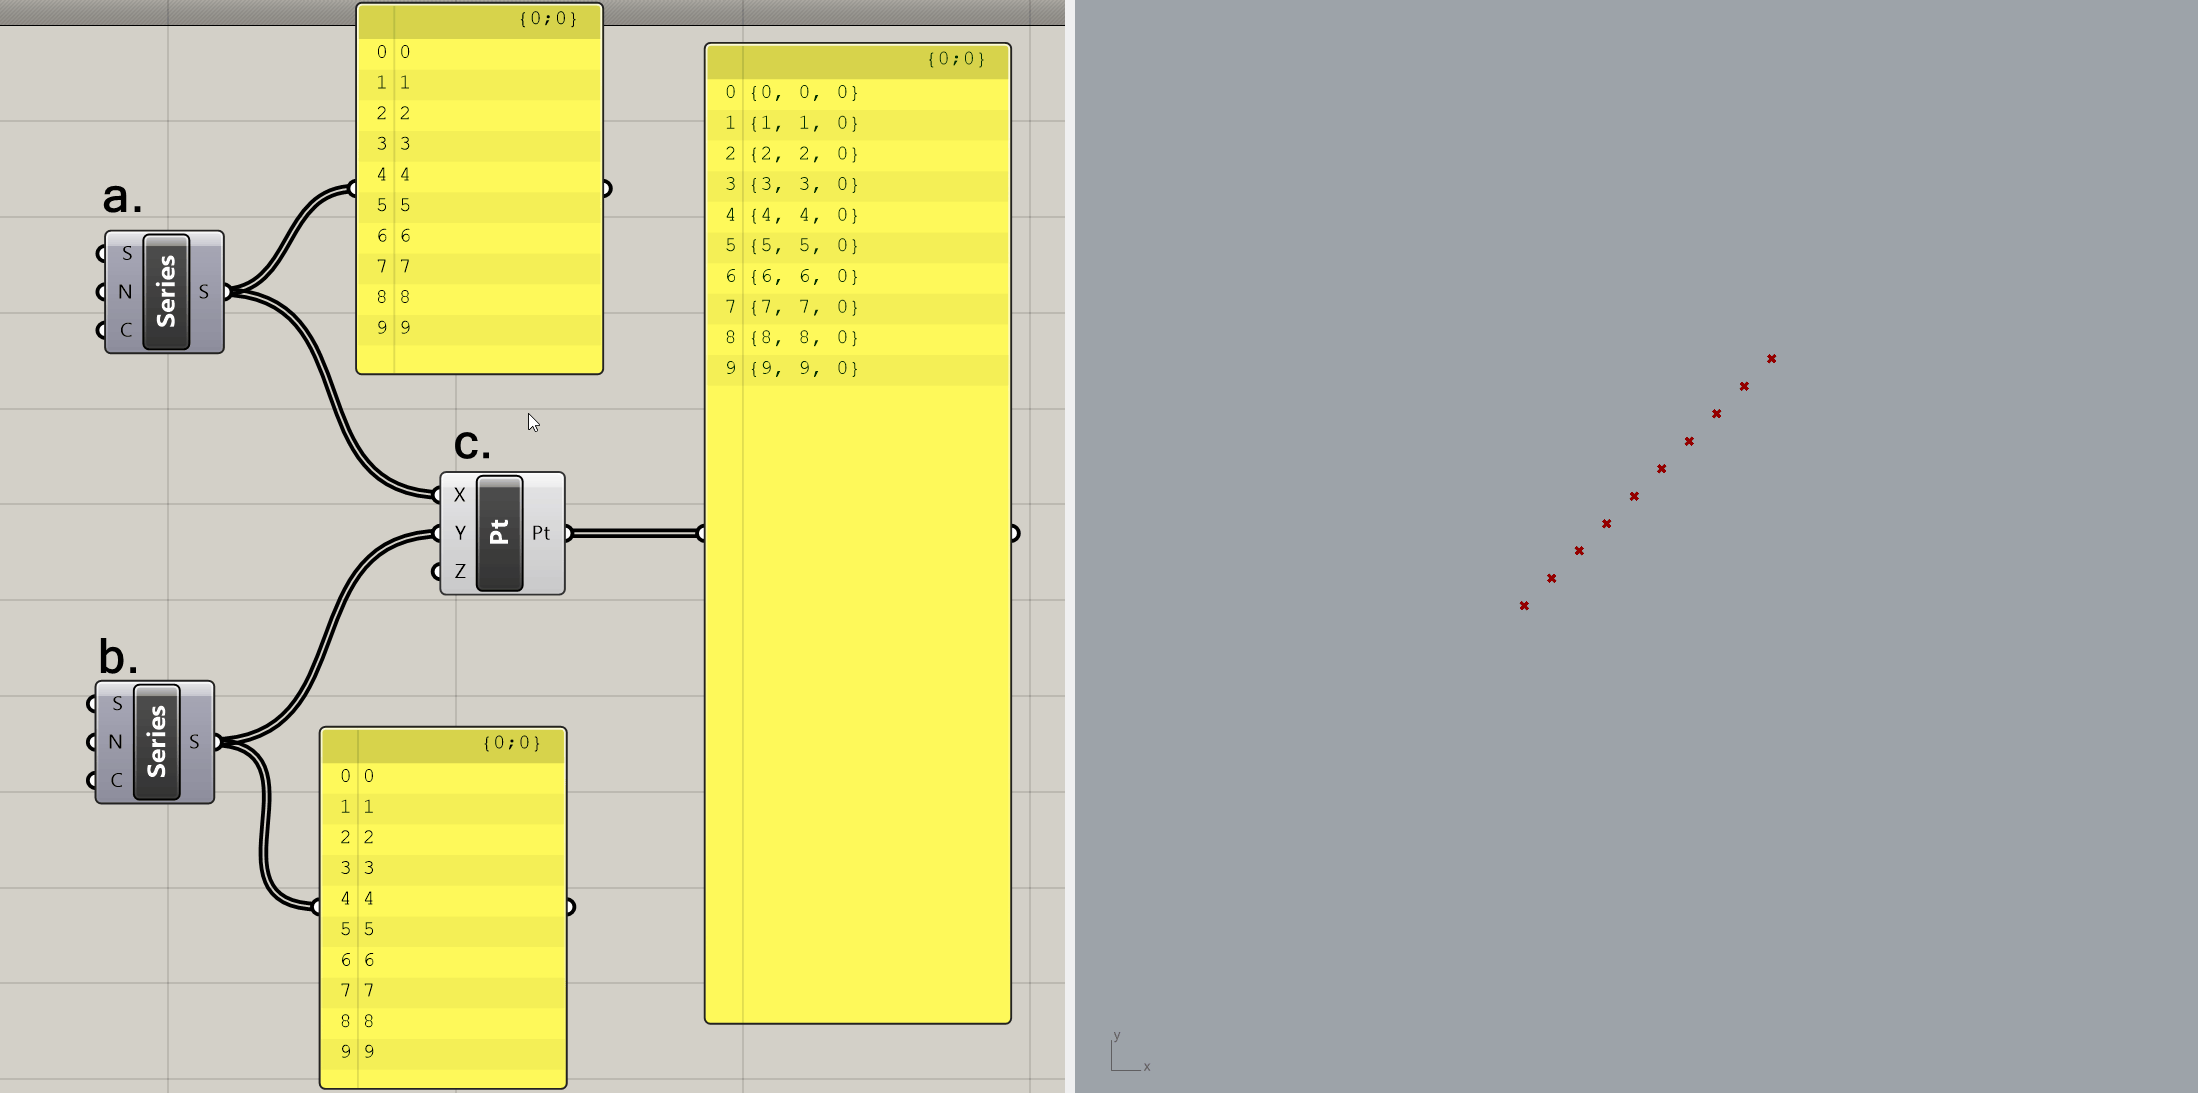
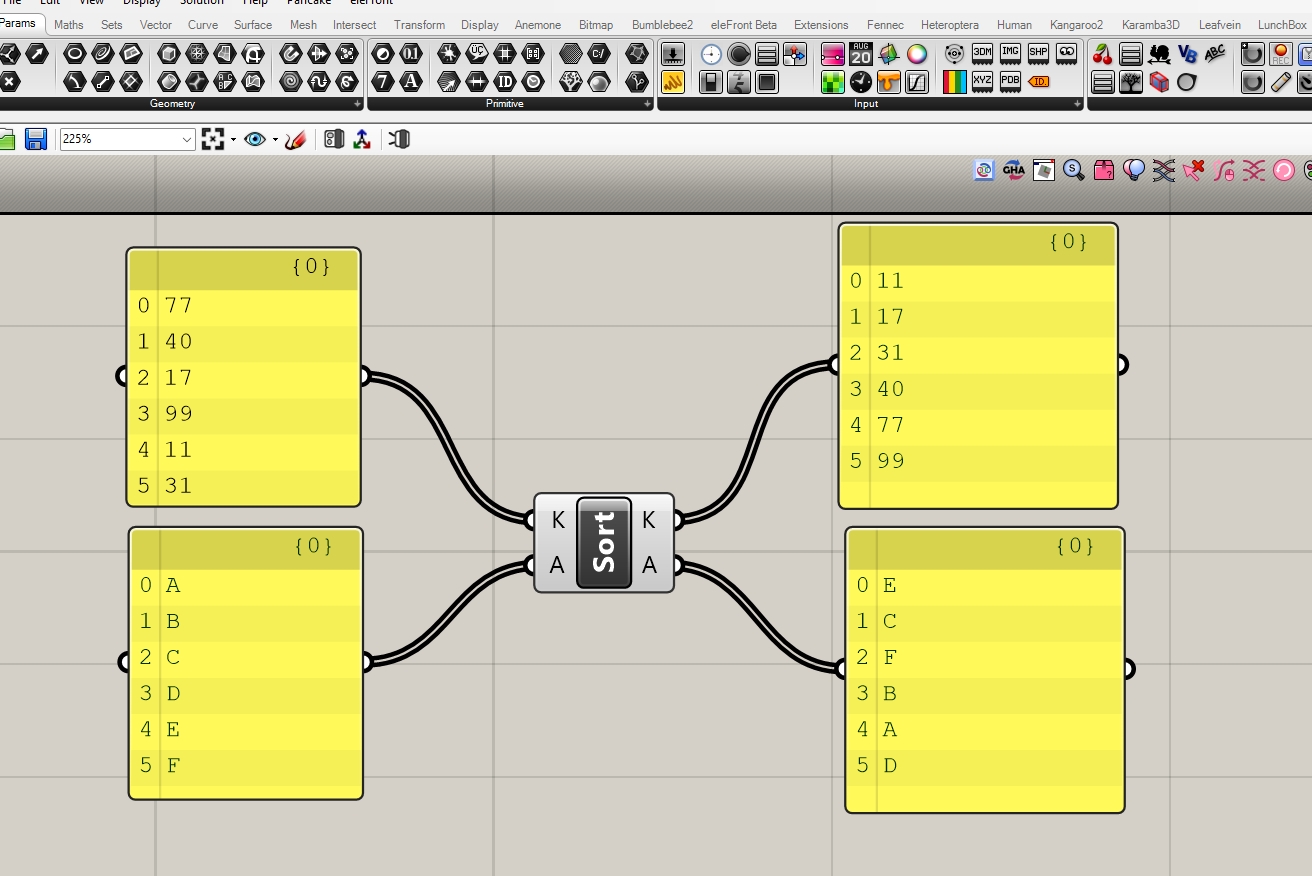
c. Data Flow - Trees and Lists
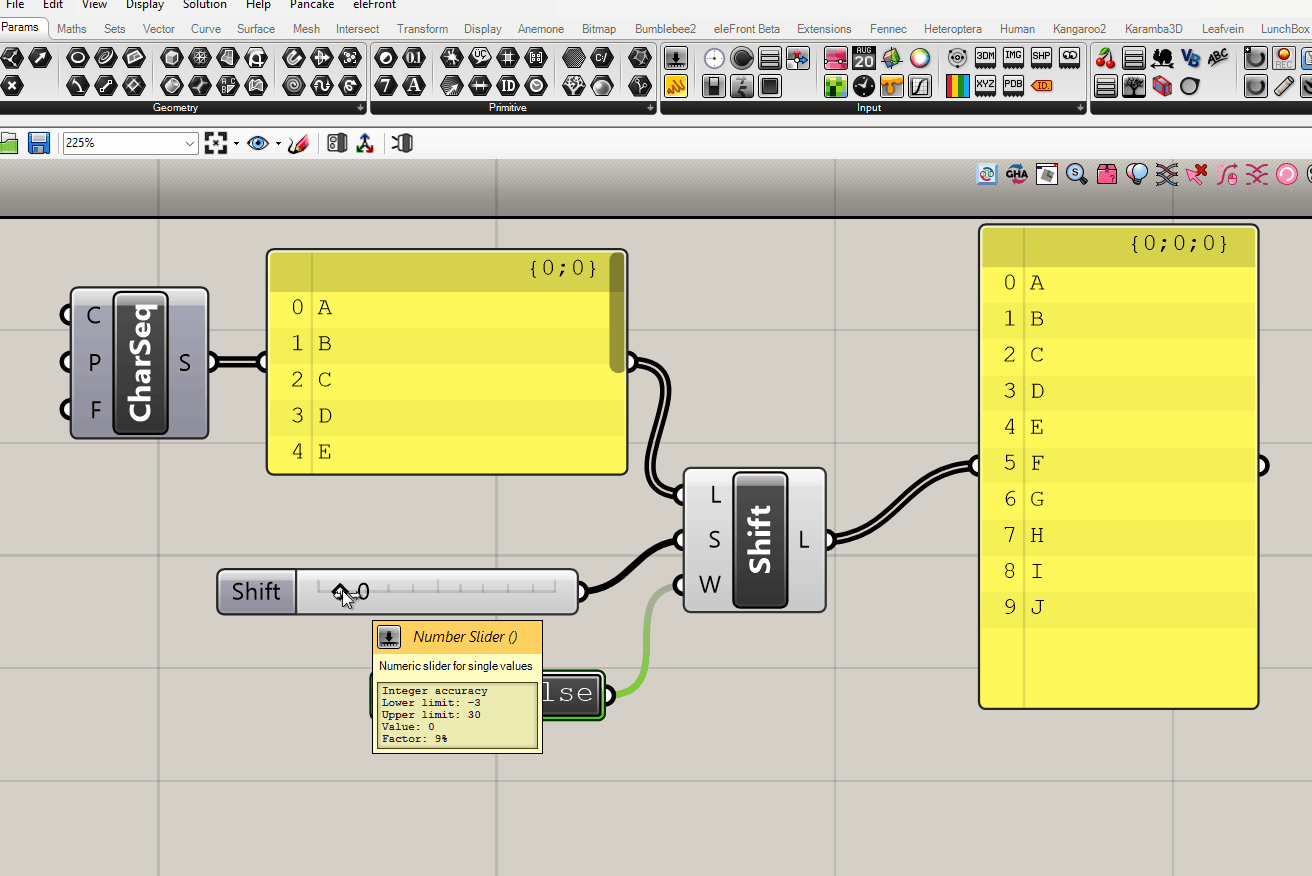
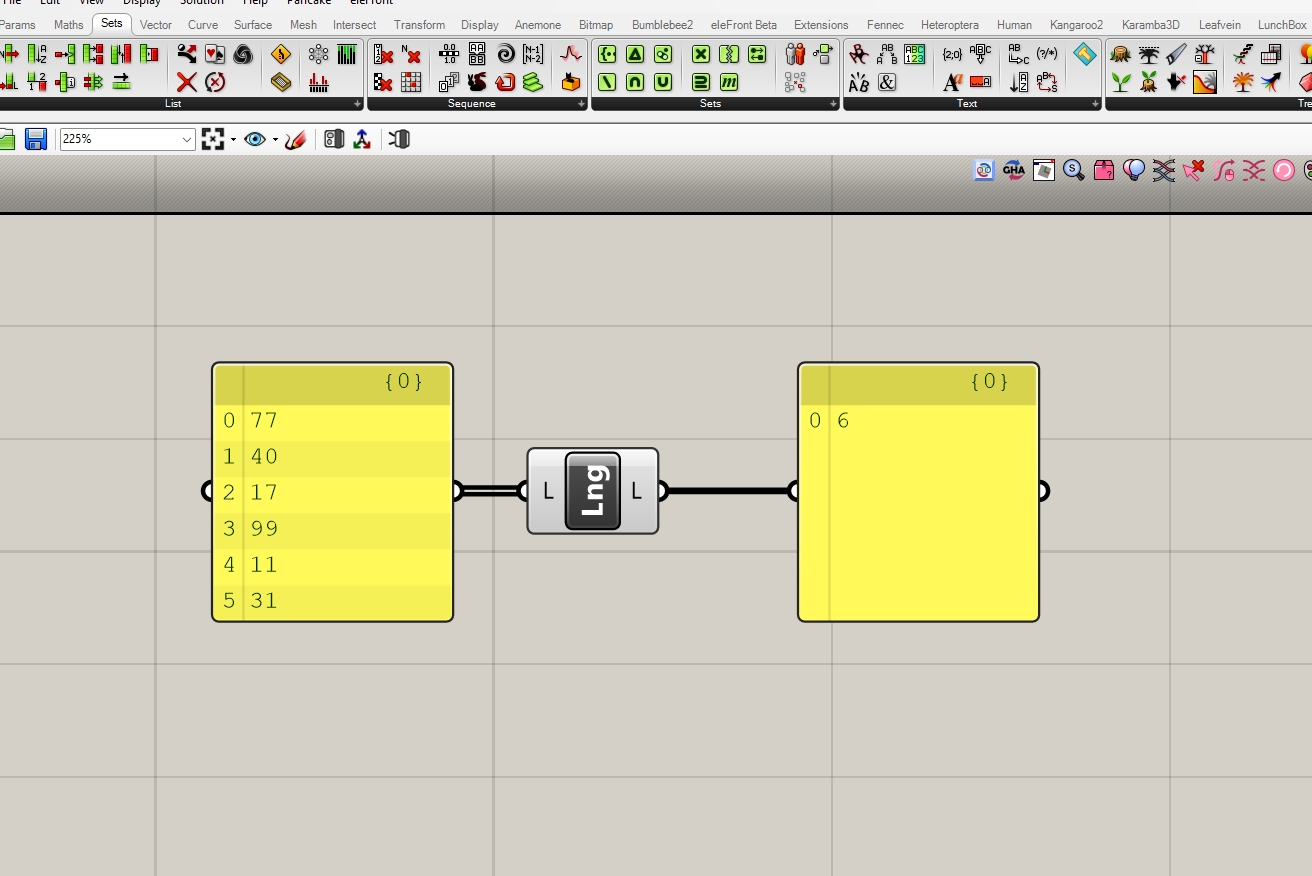
The most difficult to learn but fundamental aspect to understanding Grasshopper (GH) is how data in the form of geometry, numbers, and text flow through a Grasshopper definition. This is what makes the tool powerful - the ability to moderate and direct extremely large quantities of information. Grasshopper does this with what it calls a Data-tree path.
The Tree represents the overall organizational structure of the GH definition. Think of everything starting from the trunk, our state {0}. Each Branch is a sub-group within the larger tree structure. There can be an unlimited number of sub groups within sub groups. This is represented as {0; 1; 1; ...}, each number from left to right is the subgroup with the subgroup. The last subgroup with in the tree structure contains a List of items - geometry, numbers, etc. that are in a linear order. Think of this as the leaves on the branches.
+ note: the list order of objects always begins with 0 rather than 1. So a list of 10 looks like “0, 1, 2, 3, 4, 5, 6, 7, 8, 9”
![1. [0] There are 100 circles in this tree.](https://freight.cargo.site/t/original/i/d7ad09122170094a63ff5f8f6b67b8977f6243f8b9b3390114585a8c758c585d/sortin-0.jpeg)
![2. [0],[1],[2],...The tree is divided into 7 branches, each a different color. All but the last branch contain a list of 15 circles, in order. Notice the change in tree structure in the panel on the right.](https://freight.cargo.site/t/original/i/c9e89a4cbd1f40e7b7b8b83375e6f67e103f8a66465b3881973ff5960a968673/sortin-1.jpeg)
![3. [0;0], [0;1], ...[6;0],[6;1] Each of the 7 branches are split into to subbranches, one solid, the other hollow.](https://freight.cargo.site/t/original/i/94cfc92efcc65a5a93e869bead50aa843c5364e202834063a5c149477b422765/sortin-2.jpeg)
![4. [0;0;0], [0;0;1], [0;0;2], [0;0;3]...[6;1;0] Each sub branch is divided into pairs.](https://freight.cargo.site/t/original/i/b10c443241f67a39ef93c33389da2fb5eeb908eec1d716663c63380cbee23afc/sortin-3.jpeg)

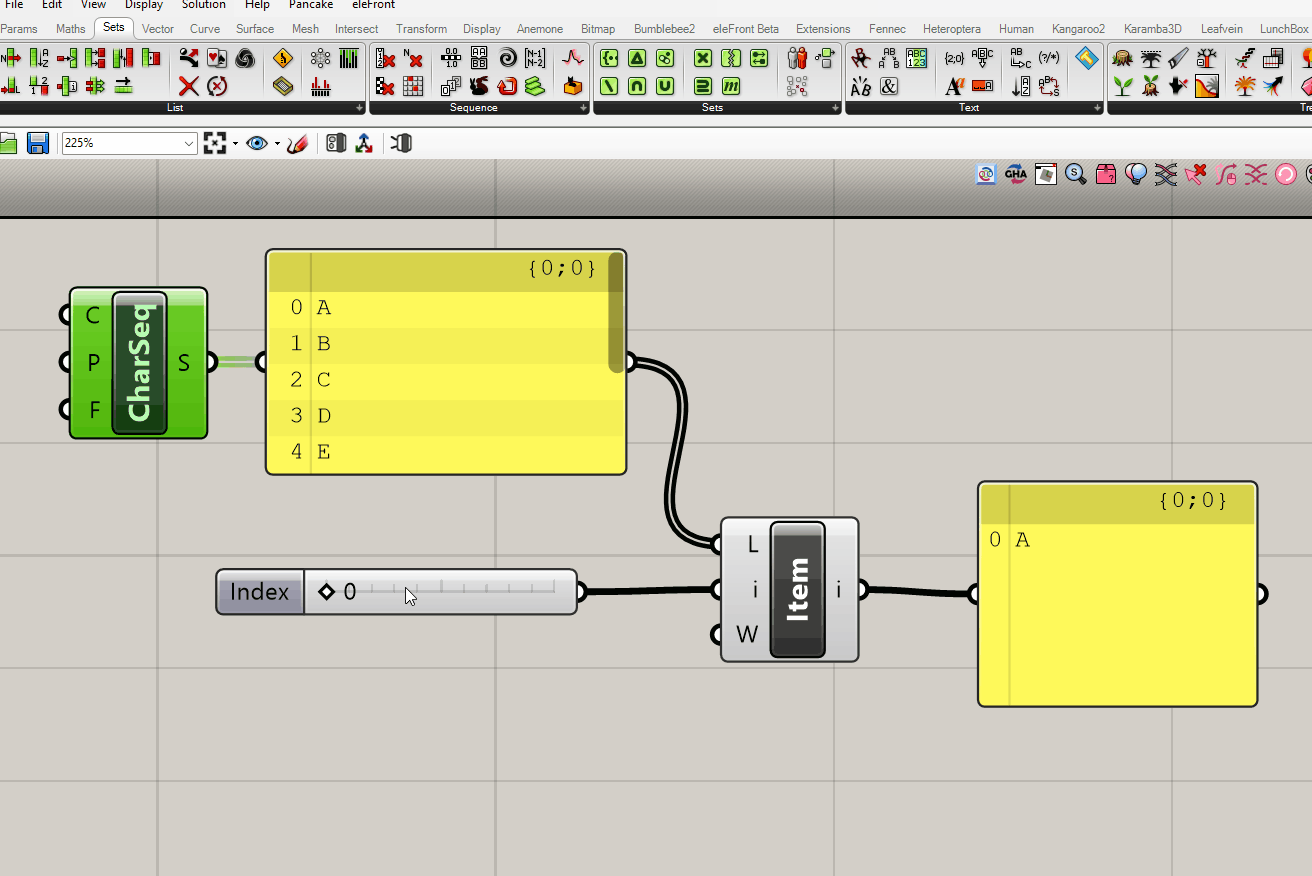
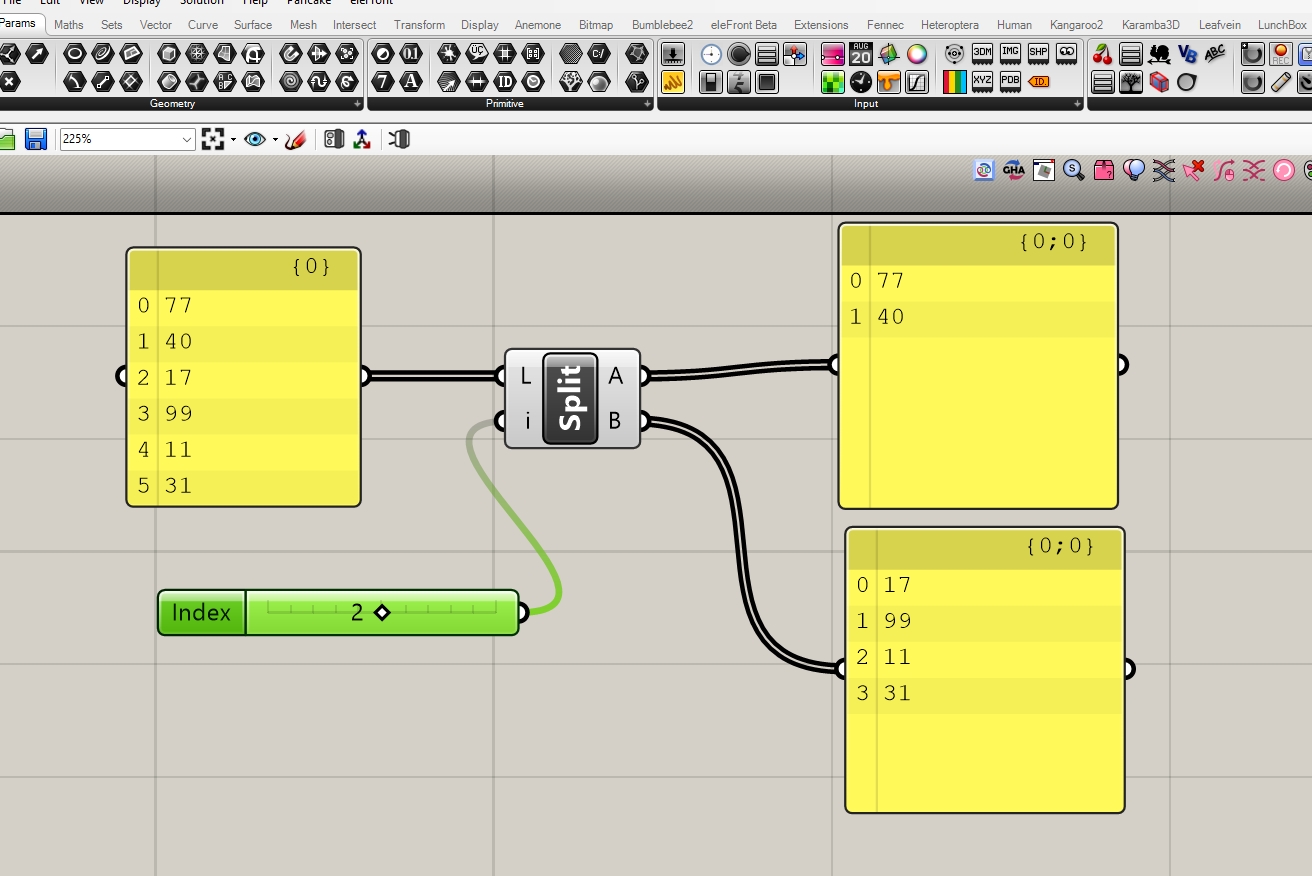
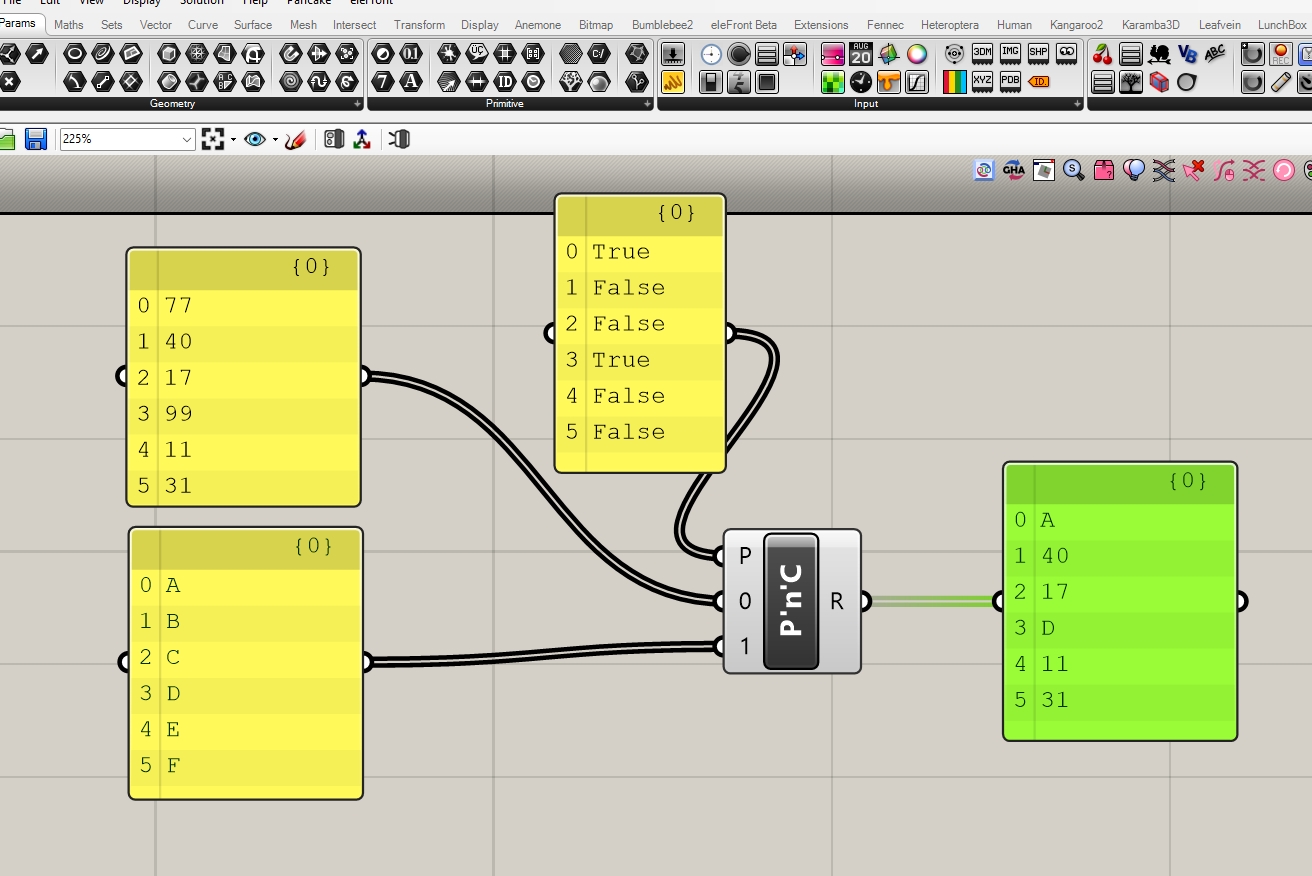
The components for managing the flow of data can be found in the Sets tab. Additional plugins TreeSloth and Human provide additional tools for managing data.
Flatten, Graft, and Simplify
List Components
Tree Components

d. Clusters
Grasshopper definitions get visually complicated fast. Clusters are a way to nest chunks of a definition into a single modular component. This practice helps when problem solving errors in large definitions. You can quickly track the flow of inputs and outputs to identify issues.
To create a cluster, add Cluster Input and Cluster Output to input parameters and output parameters. Select all components, middle-mouse button click, and choose the Cluster Icon.
You can rename the parameter input/outputs to have them labled in the cluster.
Clusters can also be converted into UserObjects, which saves an icon component in the tabs for commonly used definitions. Select the cluster, and in Files choose Create User Object
Coursework
Episode 1: On Scale
a. Quick Guide to AggregateFill_v002.gh
download the file here
This definition requires the follow plugins pre-installed:
PackageManager: Corgi, Dendro, Elefront, Faerie, Fennec, Heteroptera, Human, Stripper, VoxelTools, Weaverbird, Wombat
Manual Install: Bitmap+, MeshEdit, PhysX, Pufferfish, Rooster
+ plugin install directions here
b. File preparation: Bitmap “etching” and Photoshop Actions
Using Photoshop, this tutorial will show how to set up Action scripts and process ‘etching-like’ bitmaps.
c. Details: basic physics, PhysX and Kangaroo
d. Details: Slurry Filler
This tutorial shows how to use Volumetric modeling (voxels) in grasshopper using Dendro to quickly model irregular geometrys. We’ll combine it with an agent based plugin Faerie to model wormholes through a solid.
e. Details: Thick Bitmaps
Here we’ll use the plugin Bitmap+ to create noise based animations that can fill the interior sections of your aggregate.
Coursework
Episode 2: On Depth
a. Digital Weaving Resources
FiberArt.com - digital jacquard, custom color palettes
Weft.com - digital jacquard, limited color palettes, varied weave patterns
WOVNS.com - digital jacquard, fixed color palettes
BYBORRE.com - 3D knitting
KnitUp.io - custom knit (low res) images
b. Photocomposites
We’ll first collect and composite photographs in Photoshop into a densely saturated image.
c. Indexing Colors
Download ACT or ACO swatch libraries that match the digital weaving vendor’s color line:
FiberArts
WOVNS
d. Image Threading
This quick grasshopper script requires the plugins: Bitmap+ and Human. Install prior to opening.
ImageThreading.gh
e. Weaving Pattern
This quick grasshopper script requires the plugins: Bitmap+ and Human. Install prior to opening.
WeavingPattern.gh
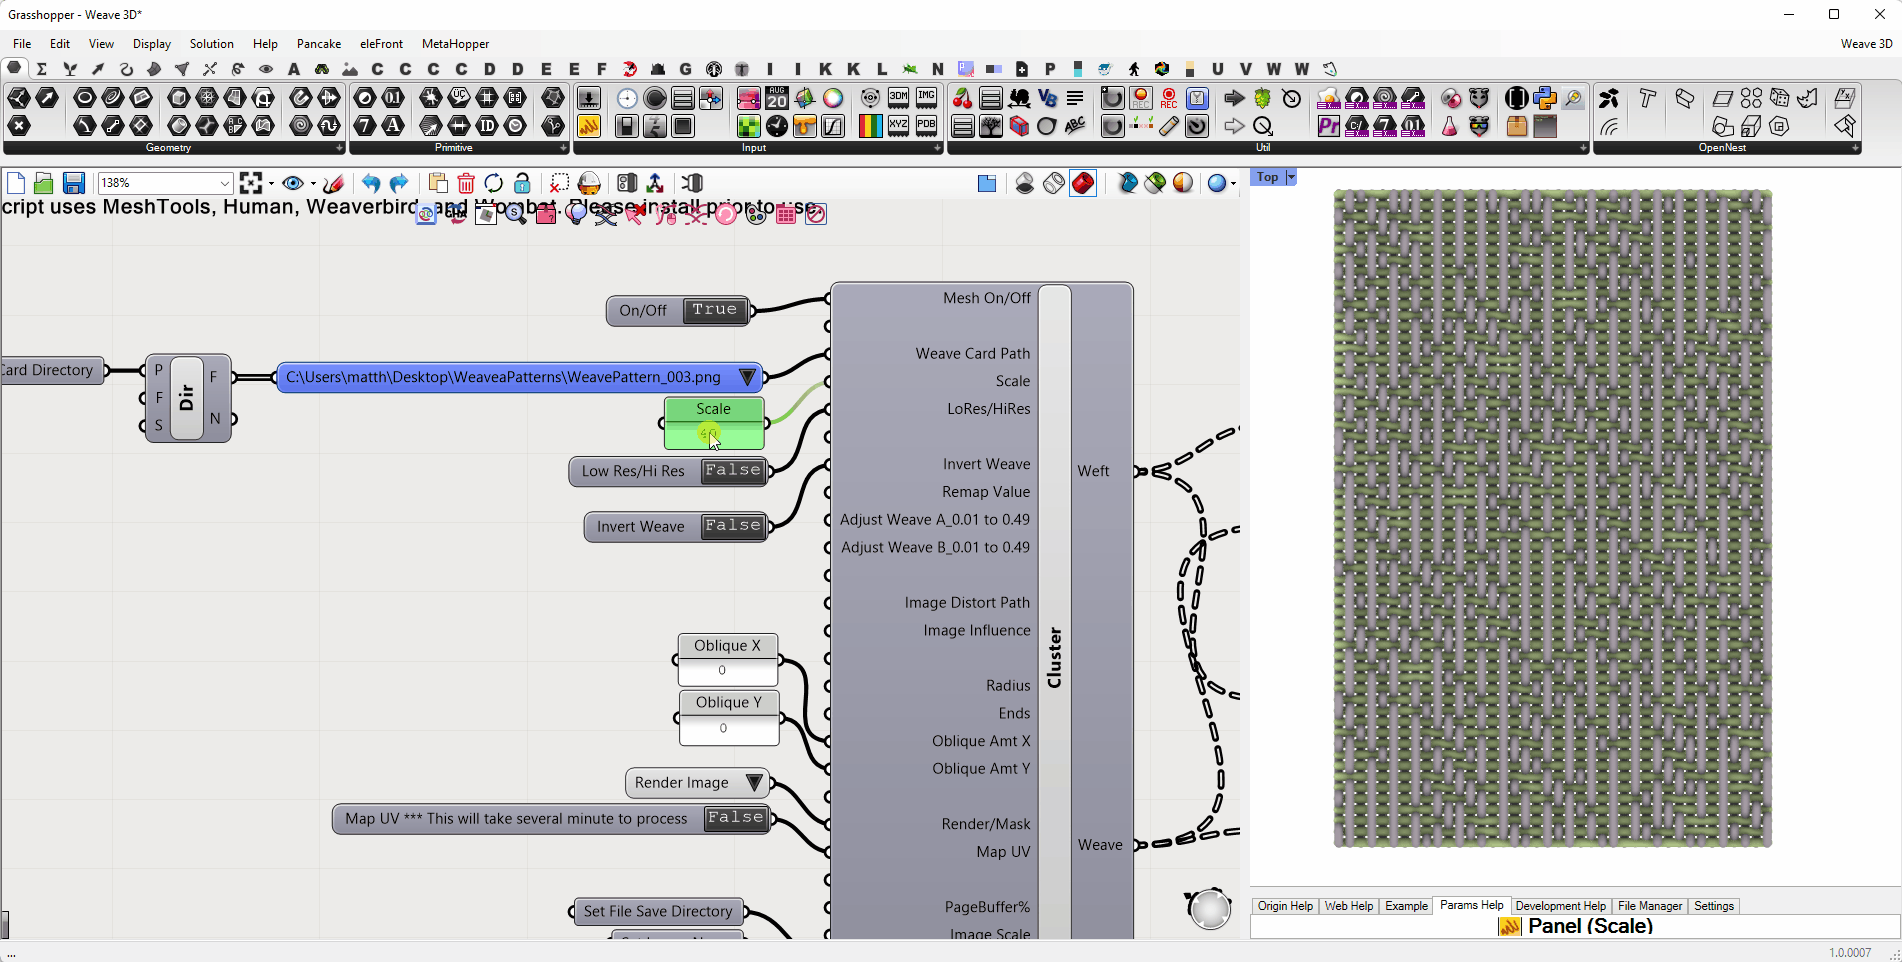
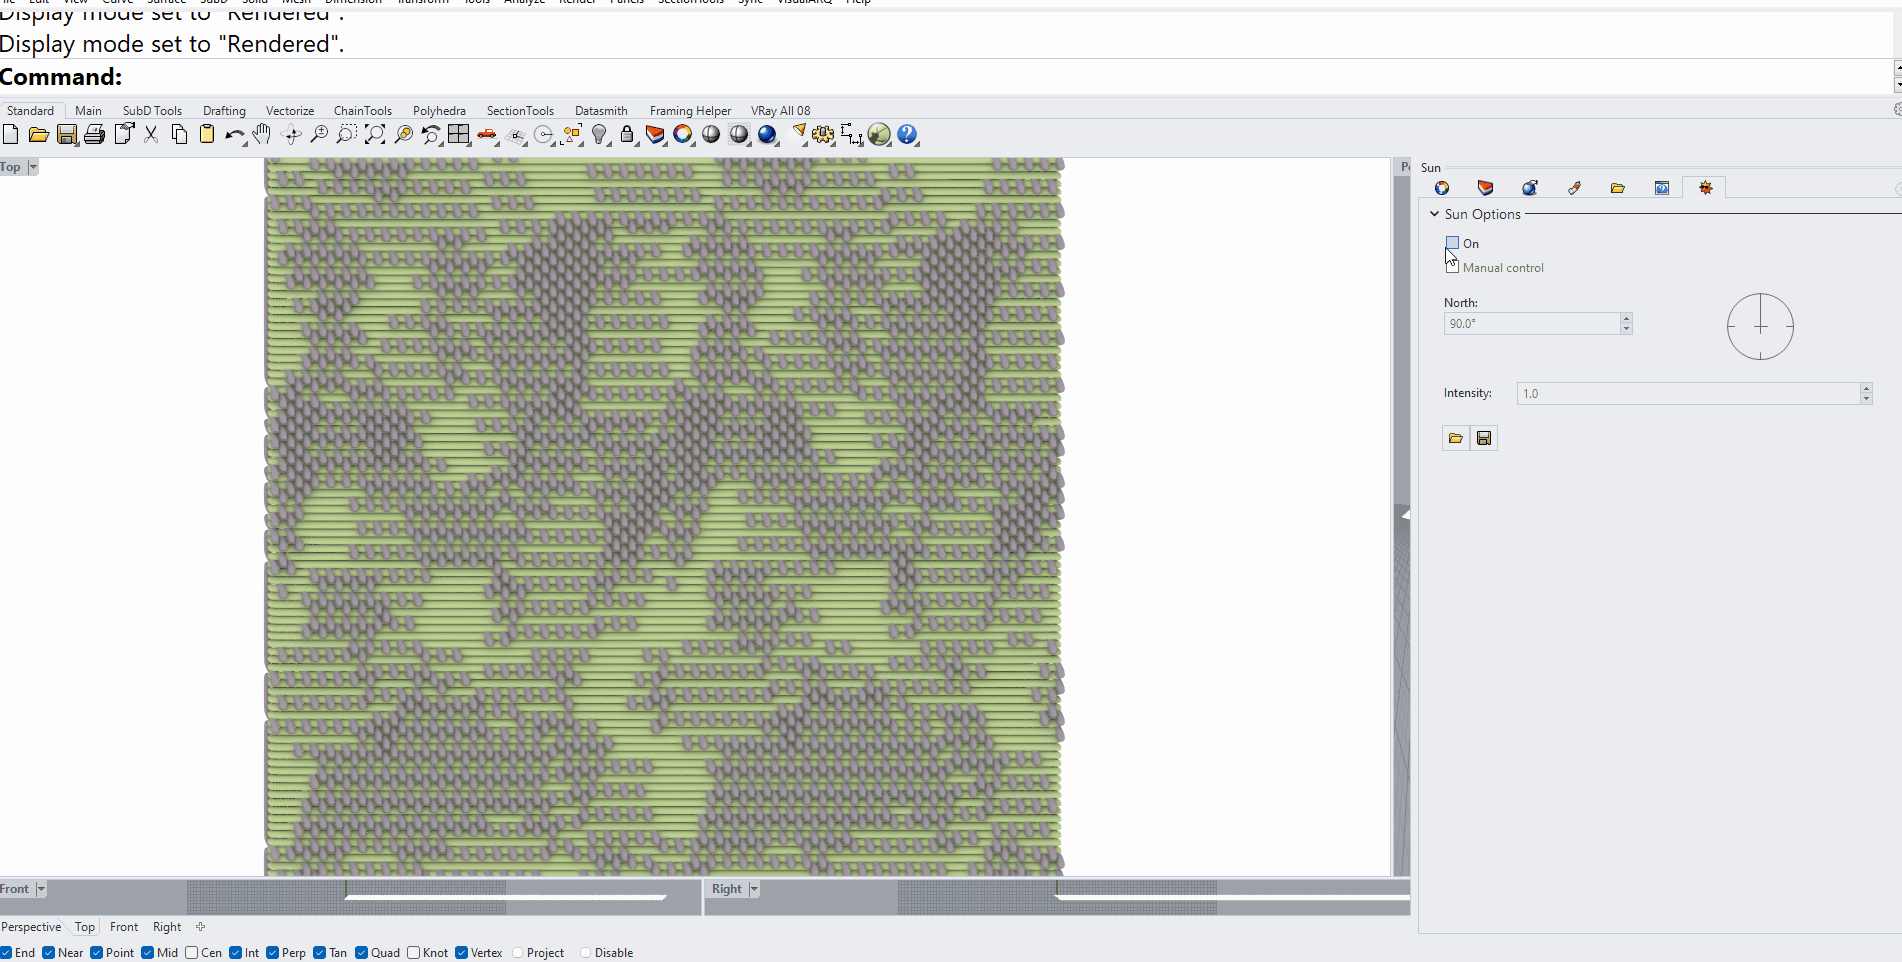
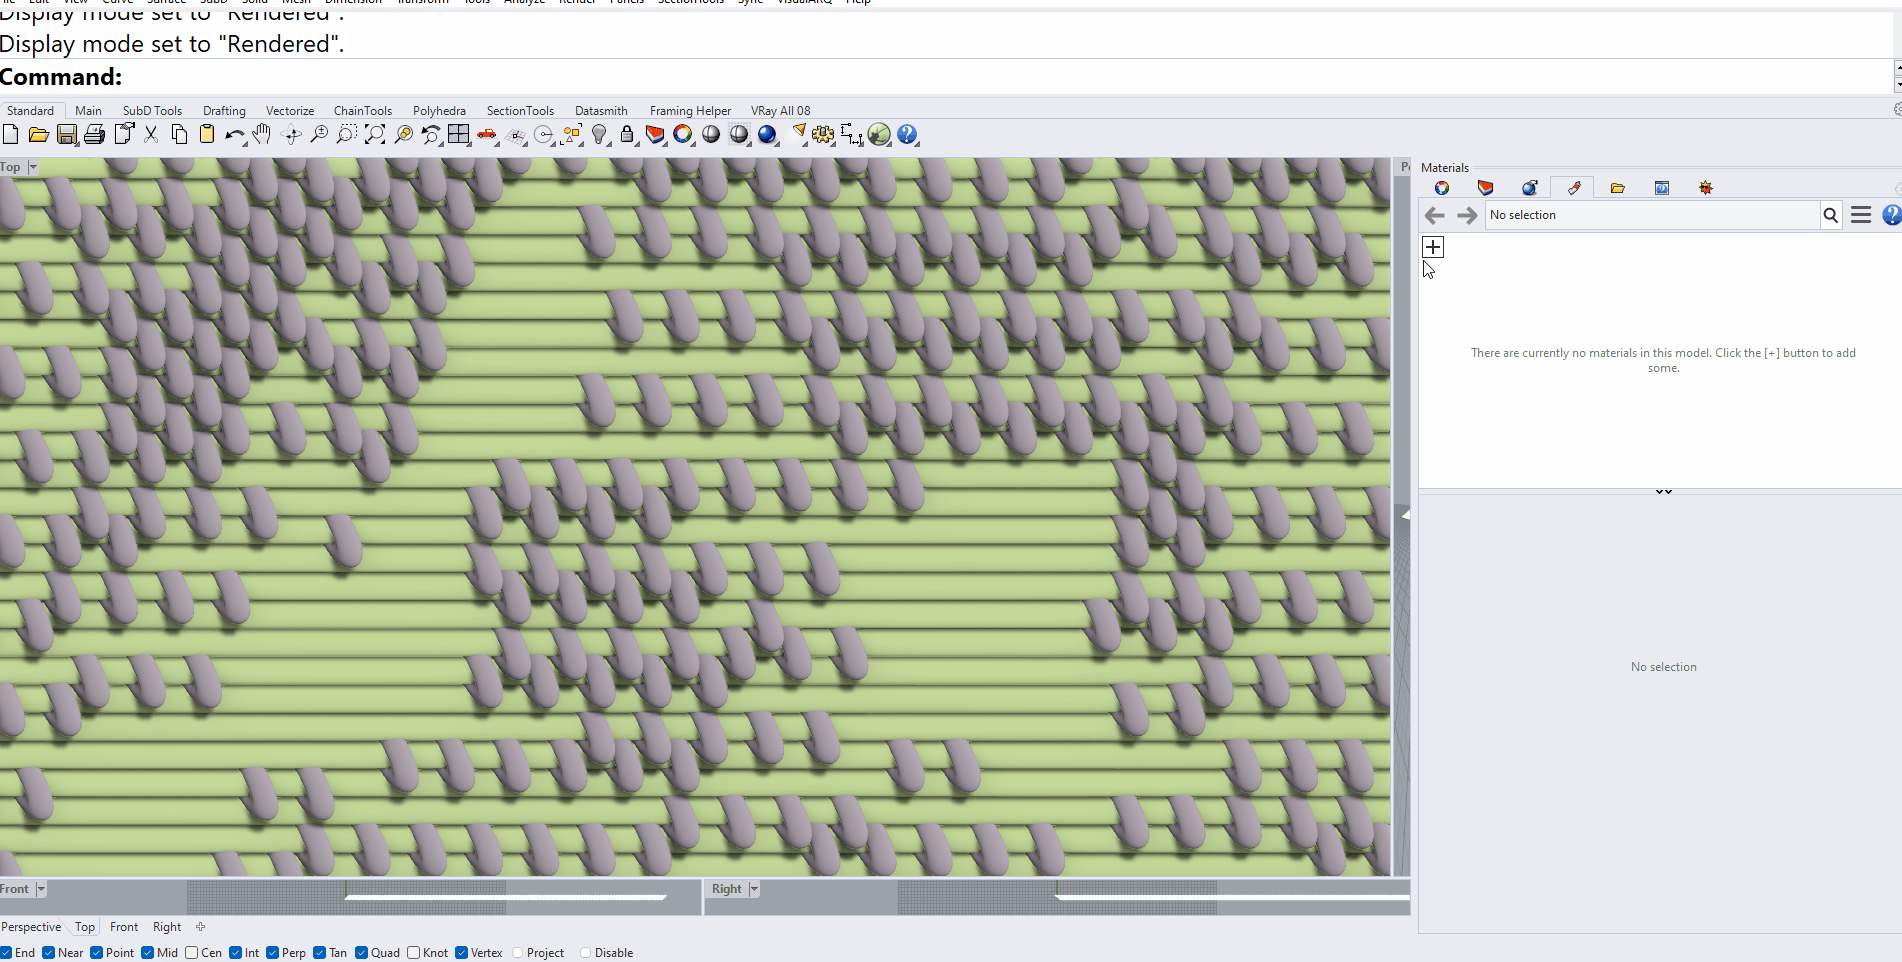
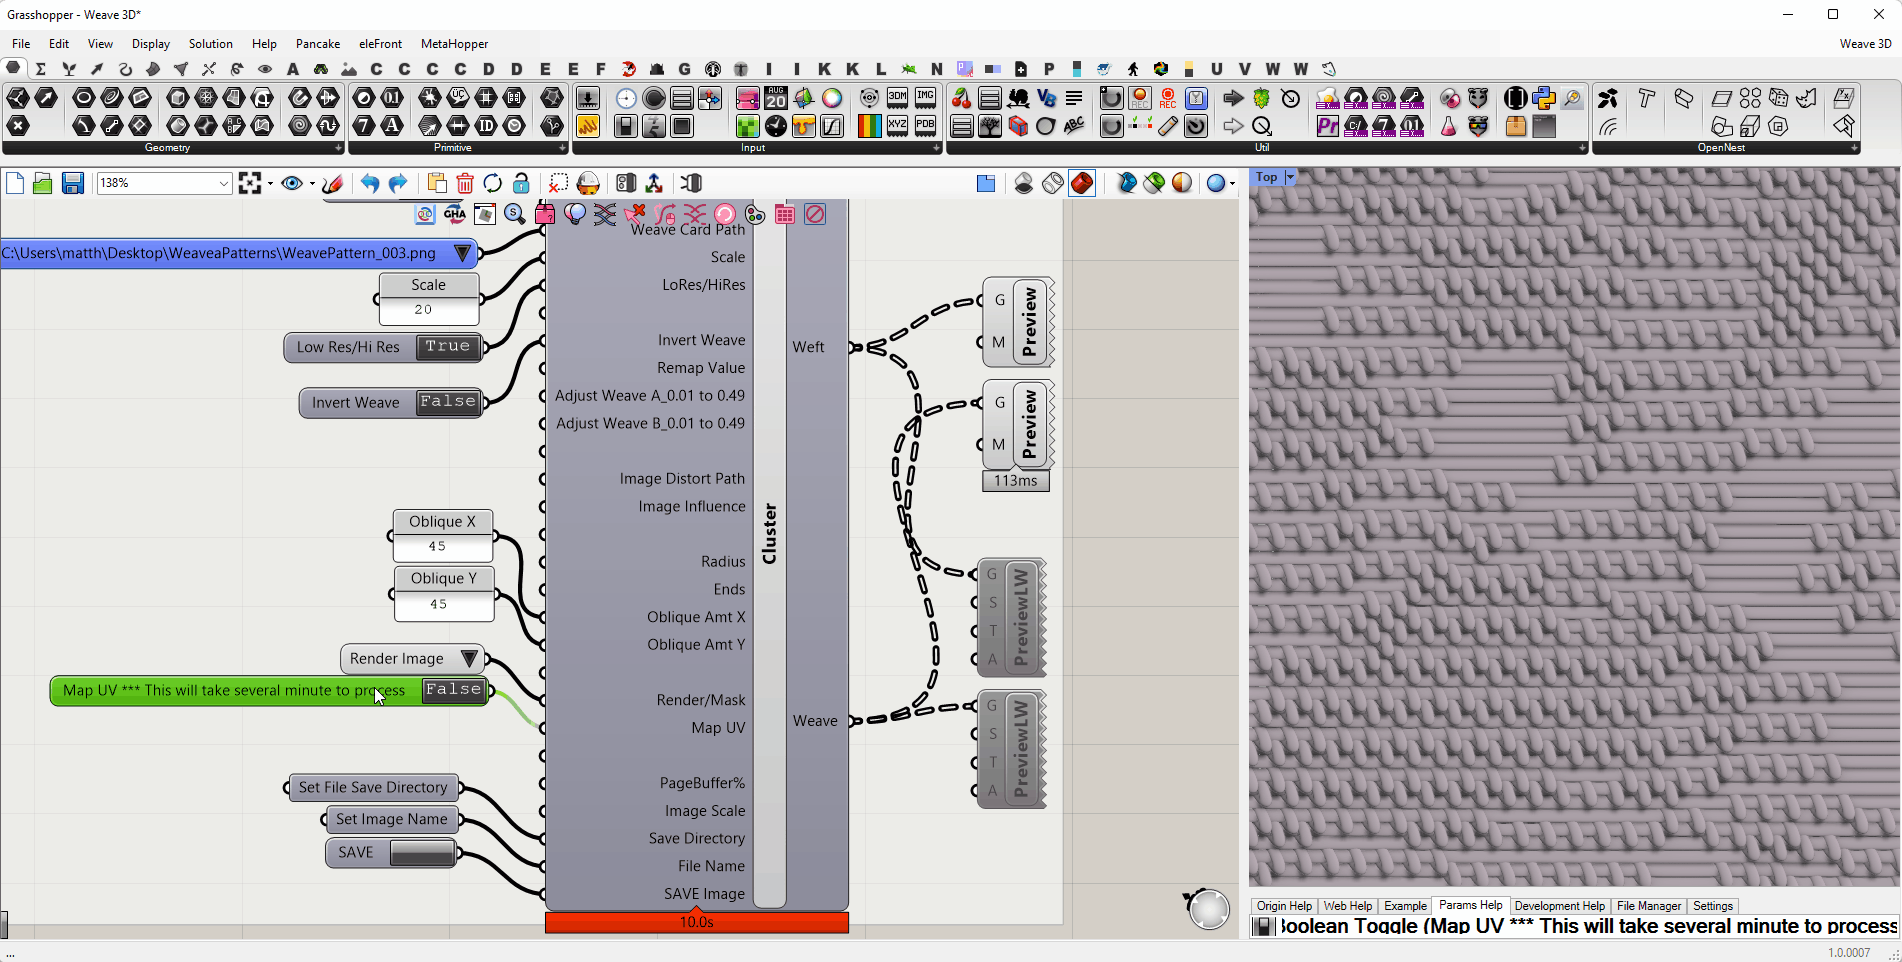
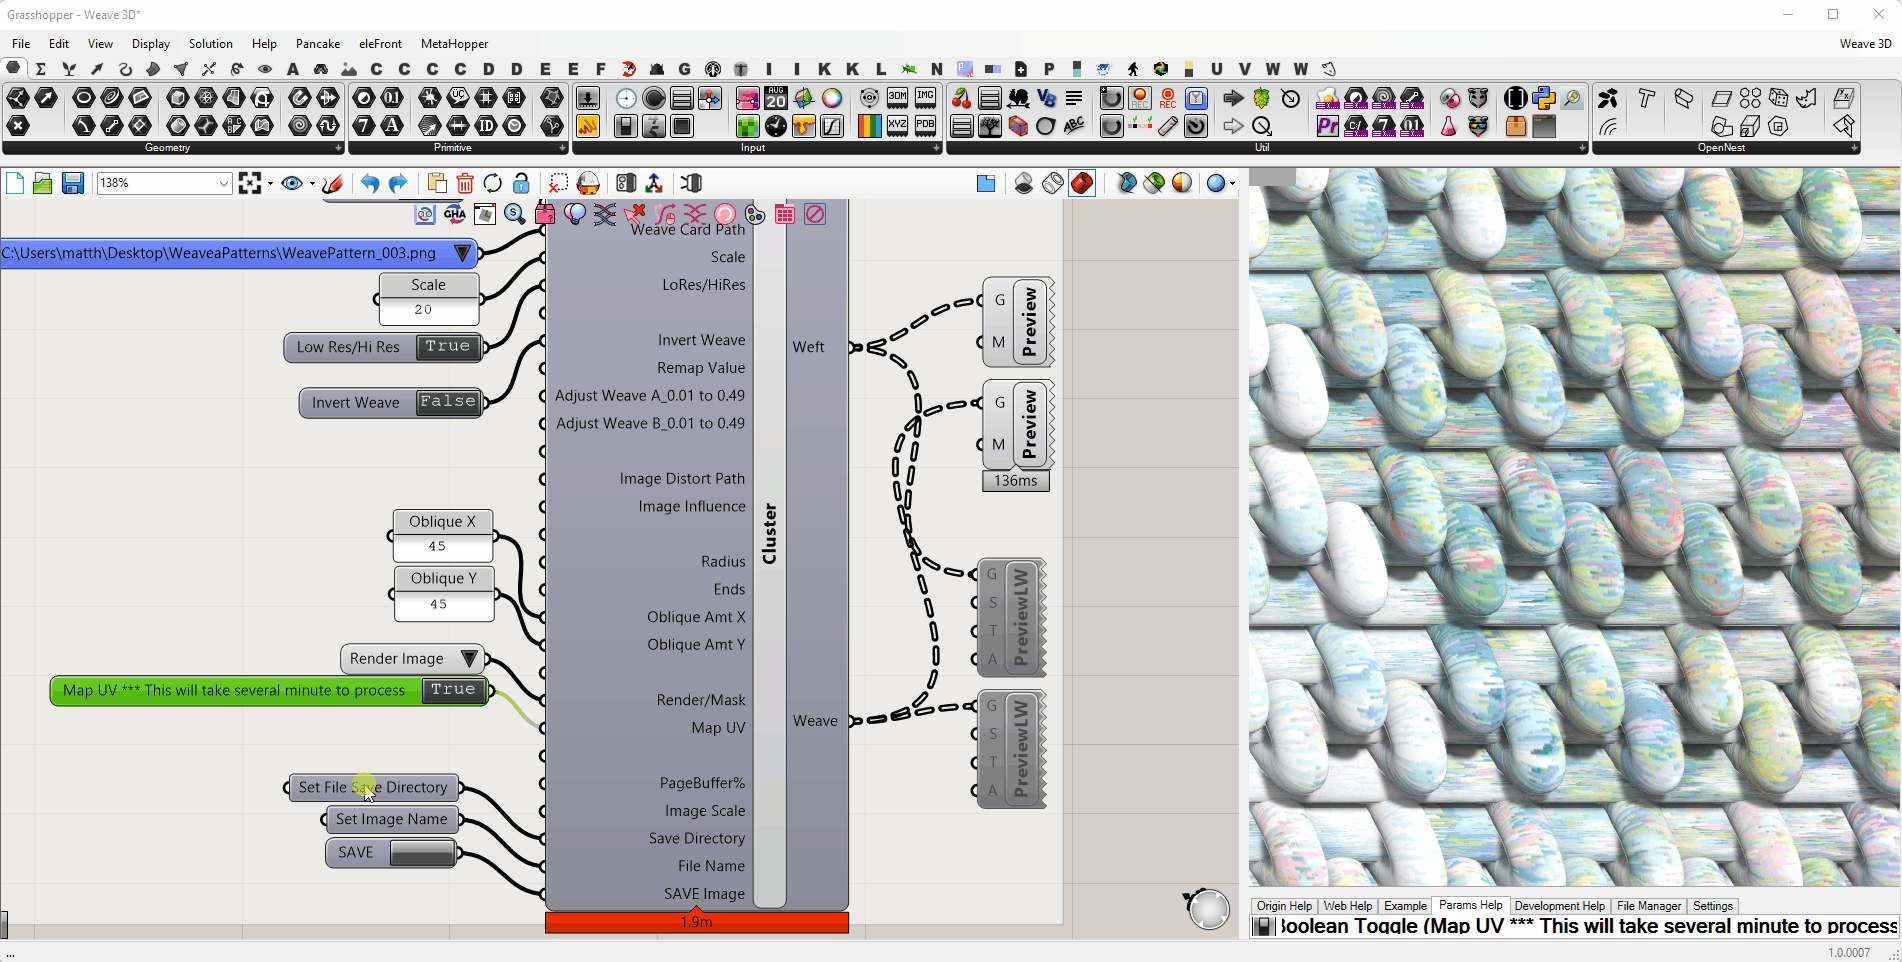
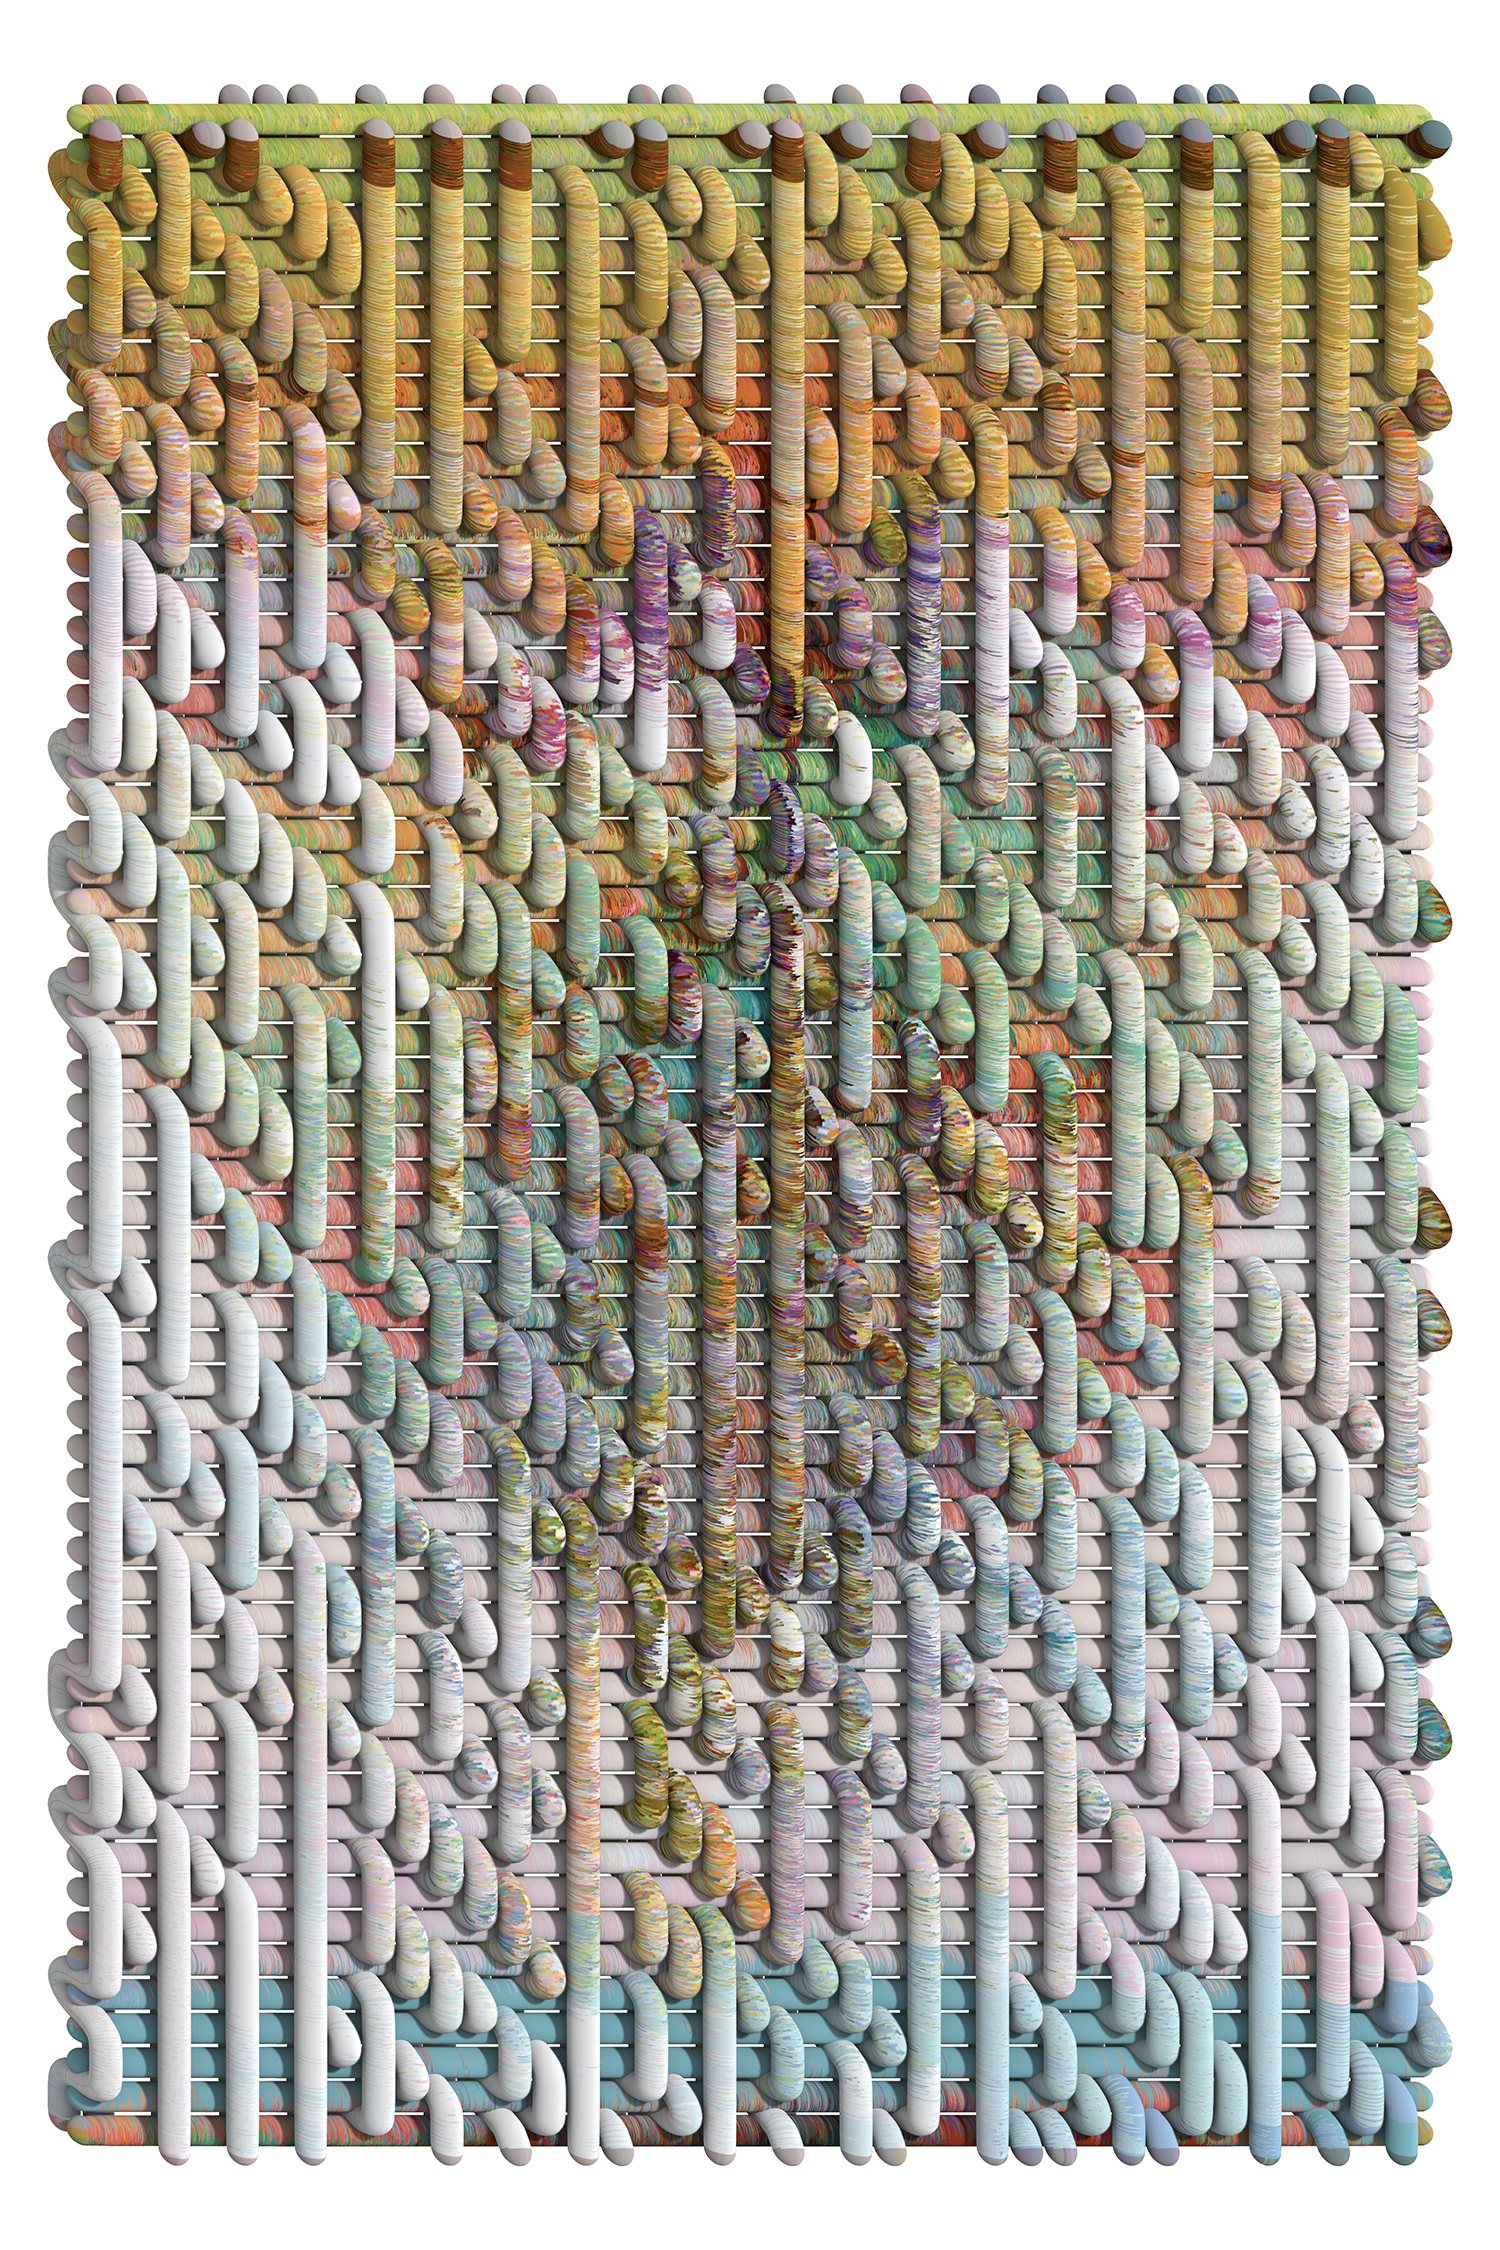
f. 3D Image Weaving
This step uses the Weave3D.gh script found here. You will need to install MeshTools, Human, Weaverbird, and Wombat prior to opening.Download MeshTools.gha here.
1. Prepare a set of Images and Weave Patterns from steps d and e. Organize into folders. You may increase the resolution from the Images in step d.
2. Open Weave3D.gh and click through the following slides for instruction:


Resolution of Images for FiberArts Weaving:
Upholstery Weight
54” x 36” = 1600 x 1059 ppi
54” x 72” = 1600 x 2118 ppi
Soft Tapestry
62” x 62” = 850 x 850 ppi
72” x 54” = 768 x 1025 ppi
62” x 54” = 850 x 768 ppi
62” x 84” = 850 x 1150 ppi
g. Weave Object
Addendum to the video: Before “FlowAlongSurface” you can convert the mesh to a SubD geometry. This will give smooth results, but caution will take extra time to process.h. Weave Animation
This update to the weaving script makes animating the weave possible.download Animate Weave.gh