3D Textures for Images
Heightfields
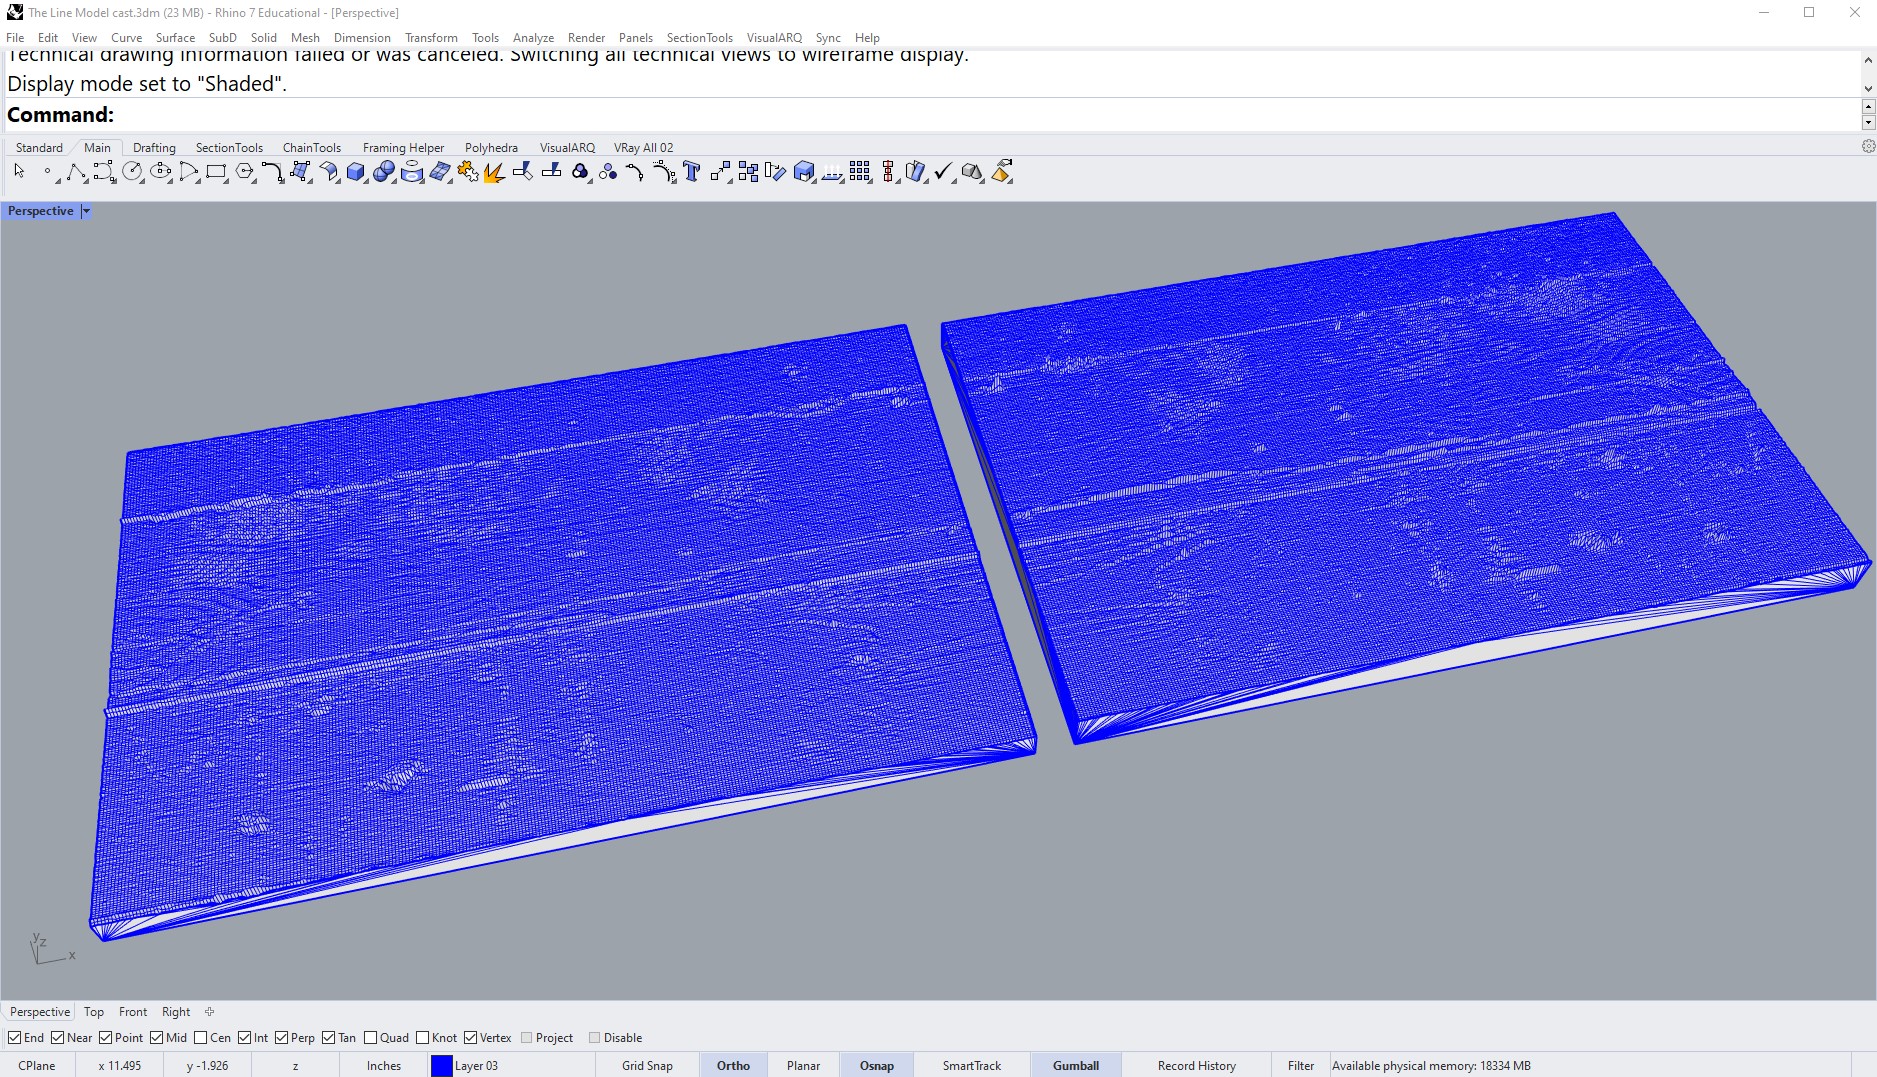
Heightfileds are a straightforward, if a bit inaccurate, way to produce a 3D mesh from an images tonal value. Rhino (or other 3D softwares) translate the greyscale brightness per pixel of an image (0 to 255) to some displacement perpendicular to the the surface/mesh at a given point (the normal of a mesh) at a given height range.1. In Rhino use the command Heightfield to select an image. Place in rhino and set to a length slightly larger than model size (you will be cropping part of this image).
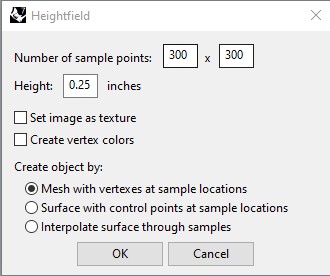
In the Pop-up choose:
- Number of sample points: how high of resolution/fidelity to the image
- Height: distance from 0 value (Black) to 255 value (white) in space, ie maximum amount of offset.
- Check ‘Mesh with vertexes at sample locations’ (the other options are better for low sample point resolutions)
2. Create a MeshBox the size of the part you want to model. This should be small in width/length of heightfield and larger in height. Use in command line XCount=1, YCount=1, and ZCount=1. Place the box within the boundary of the heightfield.

3. Use MeshBooleanSplit to cut the new MeshBox with the Heightfield. This will give you two sides (positive and negative) of the image relief with thickness.
4. To make a mold for 3D printing, make another MeshBox 0.15” larger on all sides than the thickened image relief (X,Y,ZCount=1). Place one of the sides from step 3 in the center of this new Meshbox, then MeshBooleanDfference or MeshBooleanSplit the reflief from the new box.

5. To prepare for 3D printing, Move the tray to the origin (0,0). Select and ExportSelected as an .STL file. Choose the Binary Option.