3D Scanning: Photogrammetry
Photogrammetry interperets differences in pixel data from a collection of photographs to construct a 3D digital model. This process requires sharp, even-lit, and uncompressed photographs of the subject for a successful scan. Clusters of pixels are examined in the processing to detect edges, depth, and color.
Software Used in this tutorial:
Adobe Lightroom (Desktop and Mobile App) - Useful for bulk processing photographs for 3D scanning
Agisoft Metashape - Desktop photogrammetry software (Available for PC and Mac)
Rhino 7 w/ Grasshopper
Alternative 3D Scan Software:
Autodesk Recap - PC only, free education license available
Zephyr 3D - PC only, free version available
QLone - smartphone IOS/Android
Scandy Pro - smartphone IOS iphone X
Step 1: Photograph the object
Photograph objects in the round and from different heights. Each photograph should overlap the previous photograph. When photographing objects, position in a well lit area, and move around the object, photographing in 10-15 degree increments. Do this in 3 vertical angles, for approx 60-90 images.
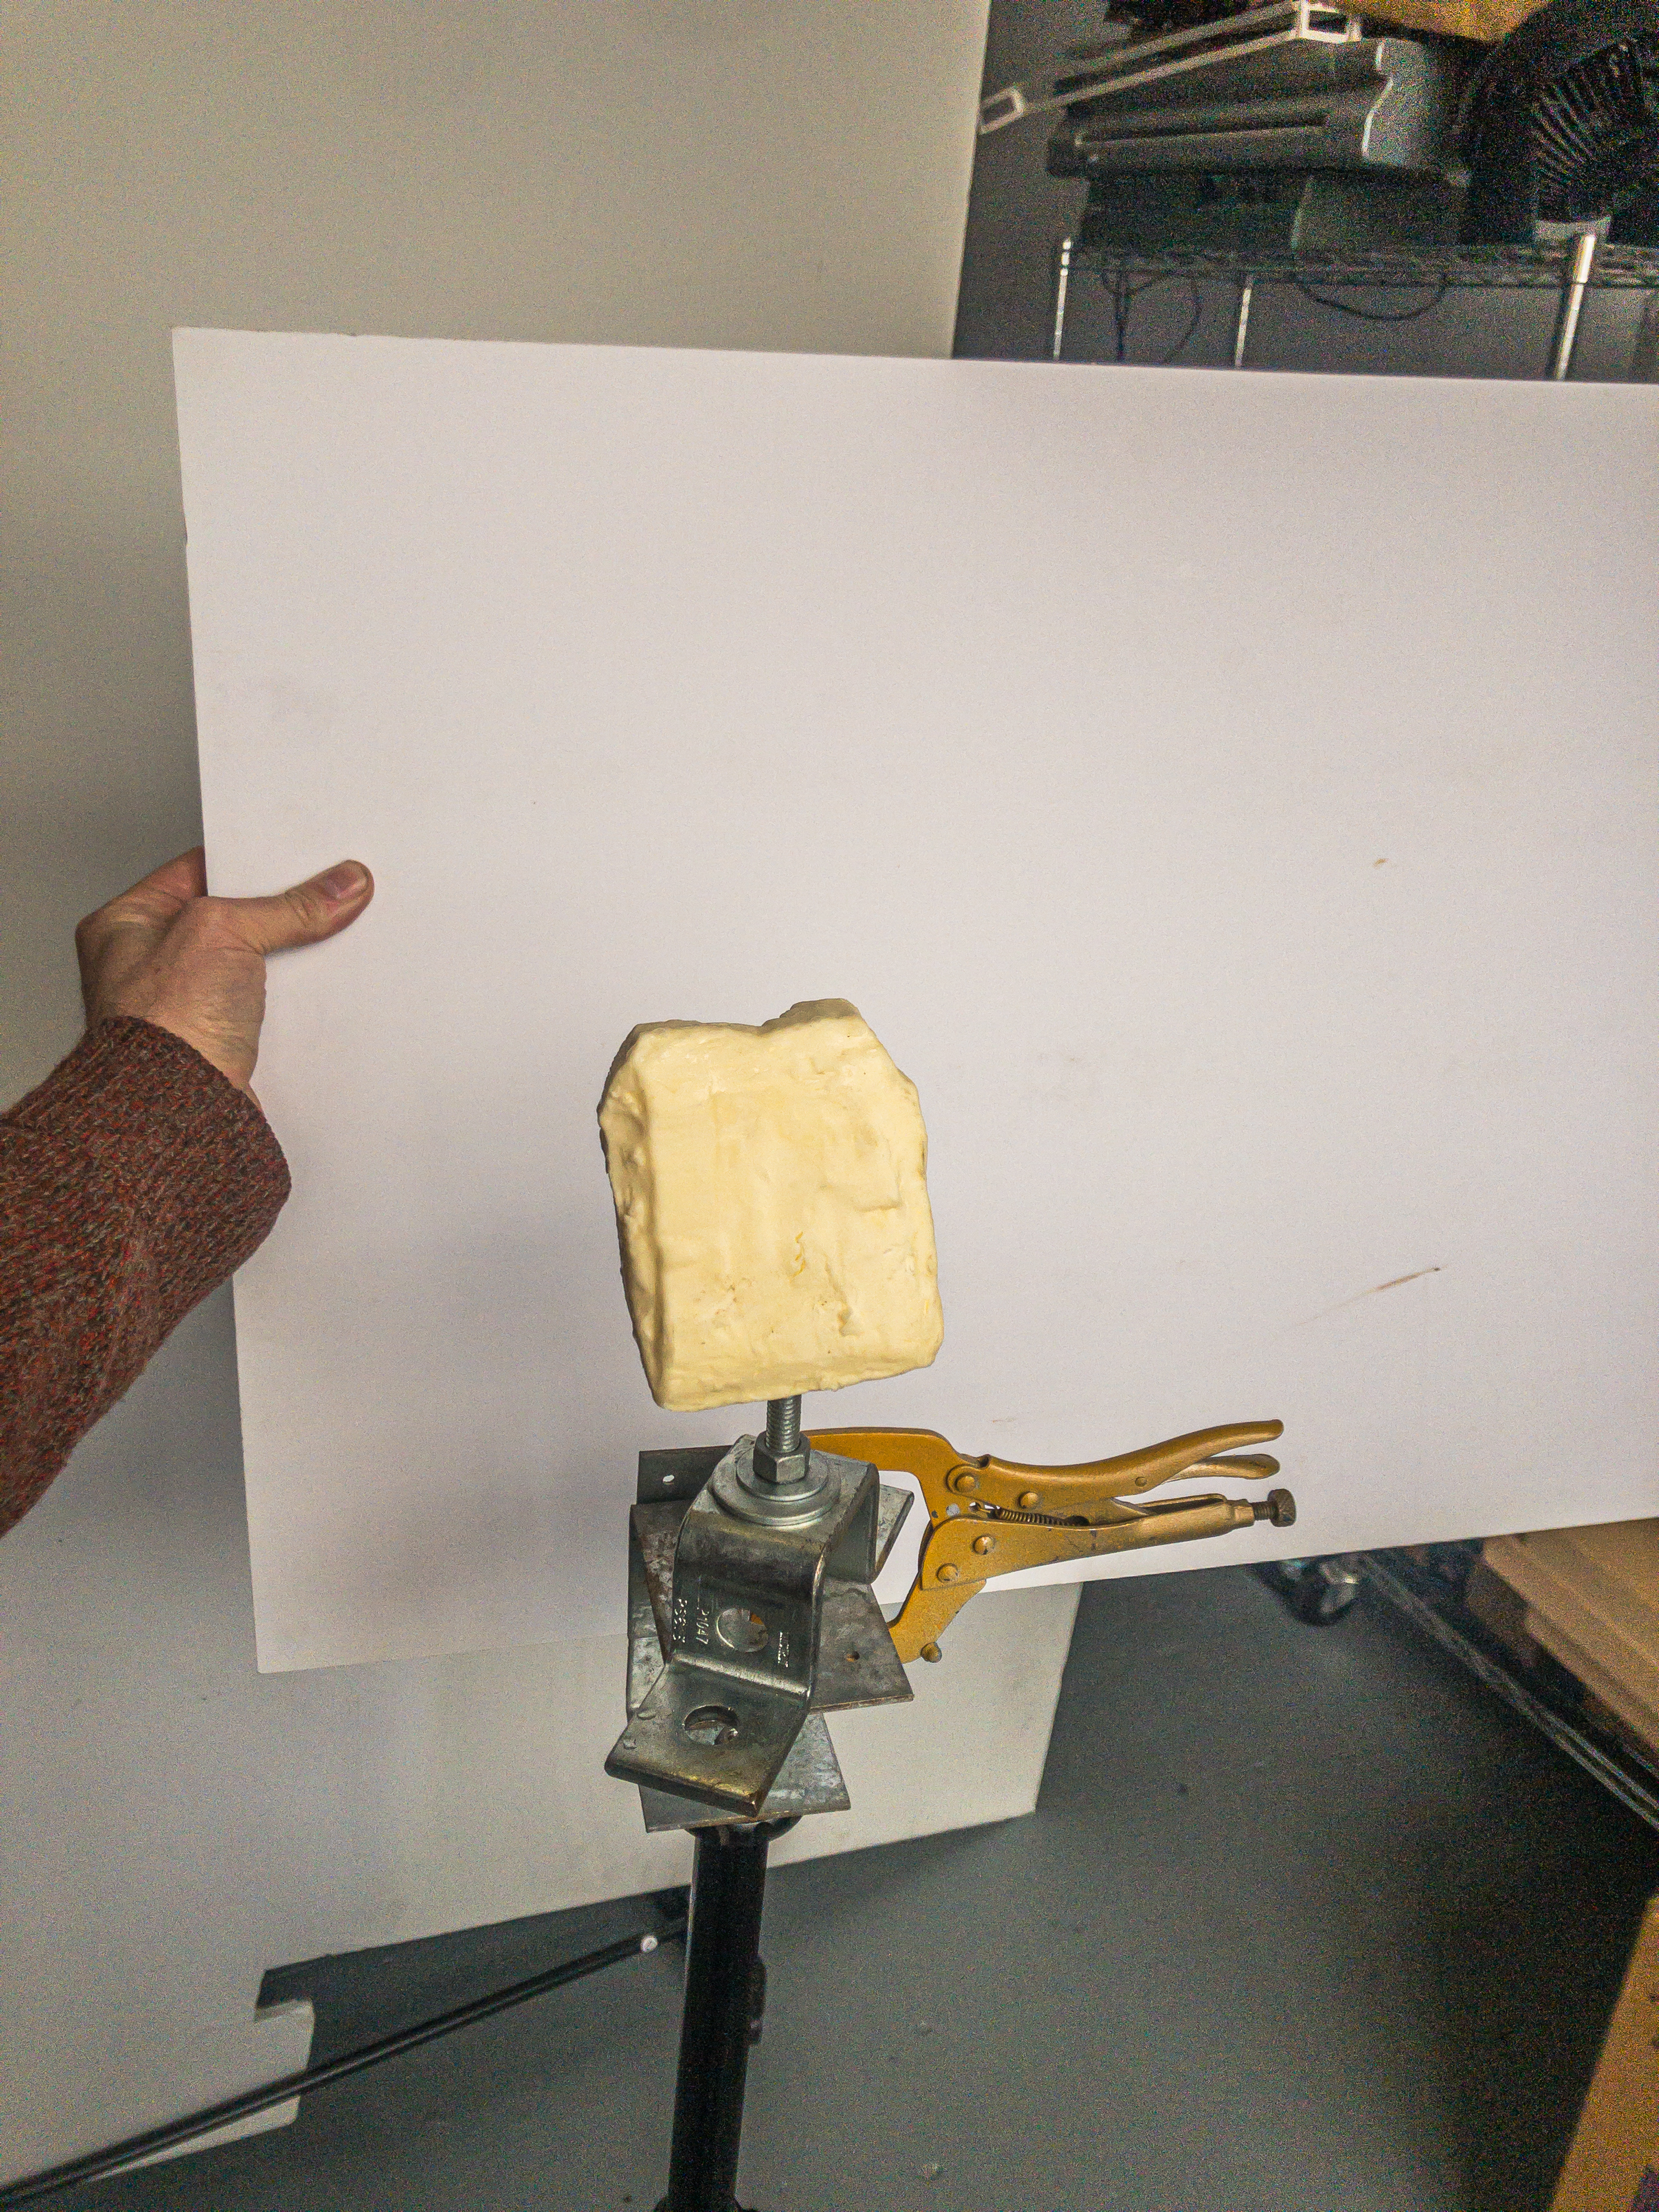
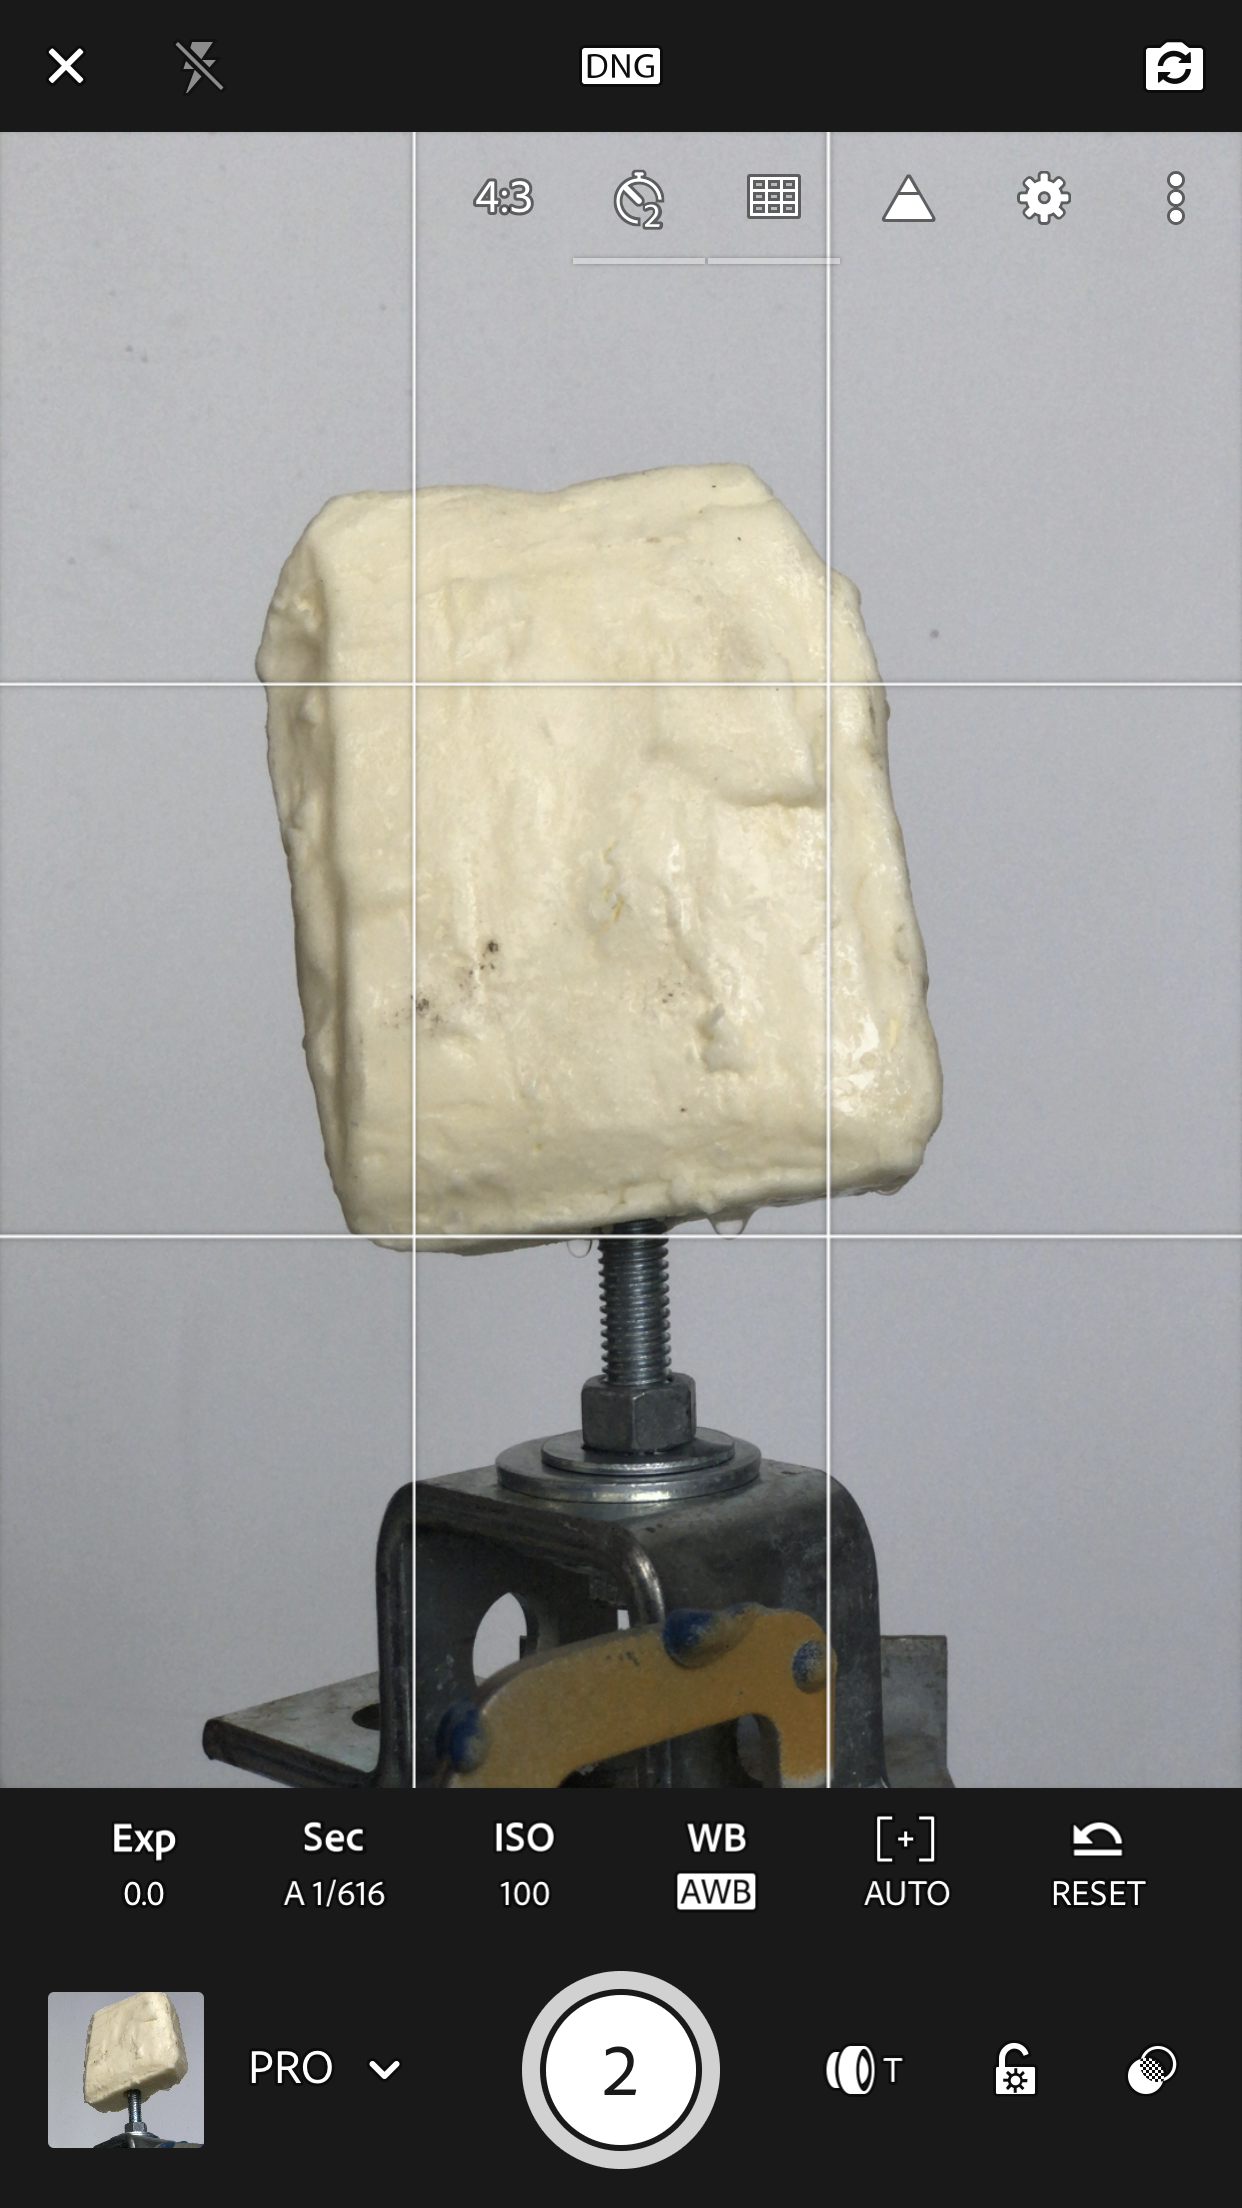
If using the Lightroom App (recommended) set ISO to 100 and camera to telephoto. Save photos as DNGs to process in Lightroom after.
Step 2: Process the photos in lightroom
Here, the photographs should be processed for even, bright lighting. Then saved as TIFs.
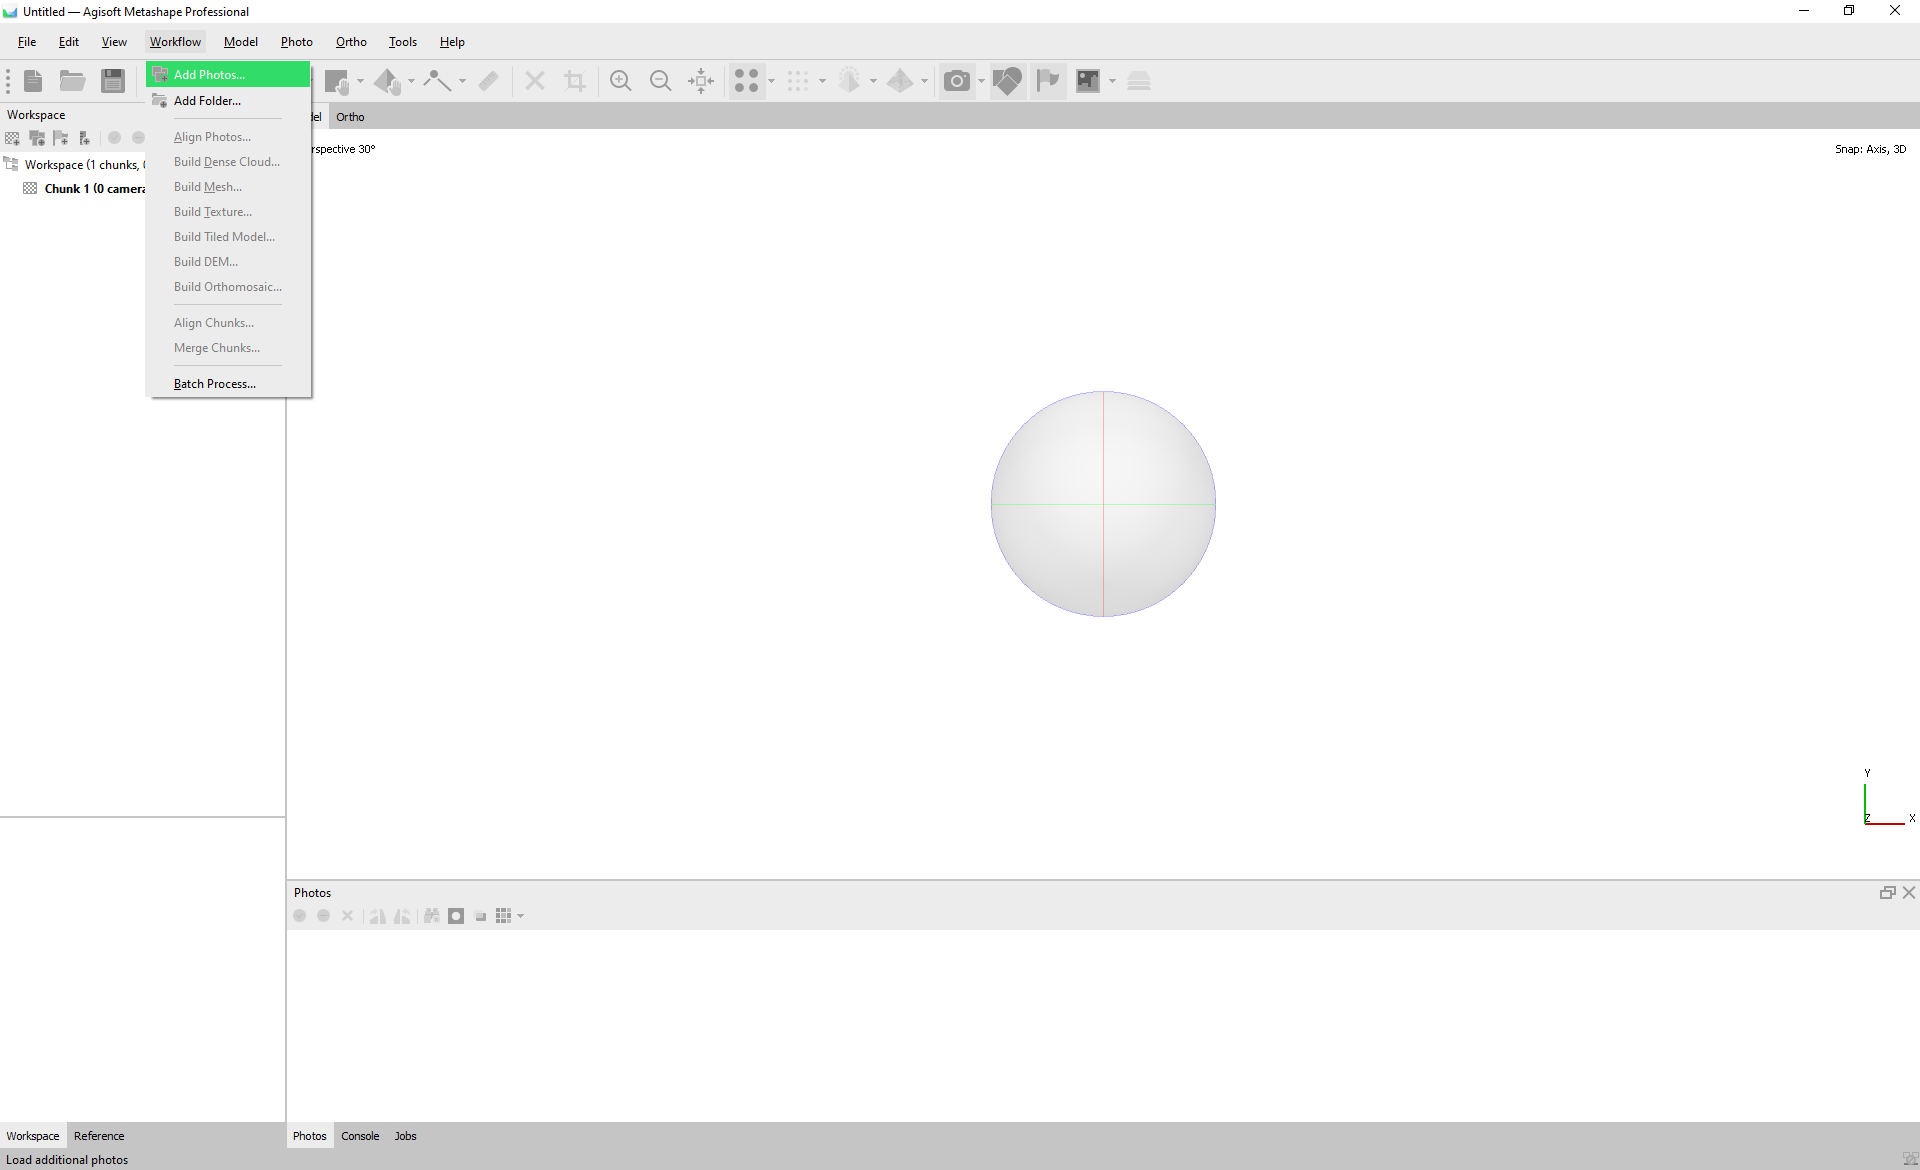
Step 3: Process the Photos in Agisoft Metashape
All of the processing will occure through the “Workflow” file menu:
1. Workflow: Add Photos
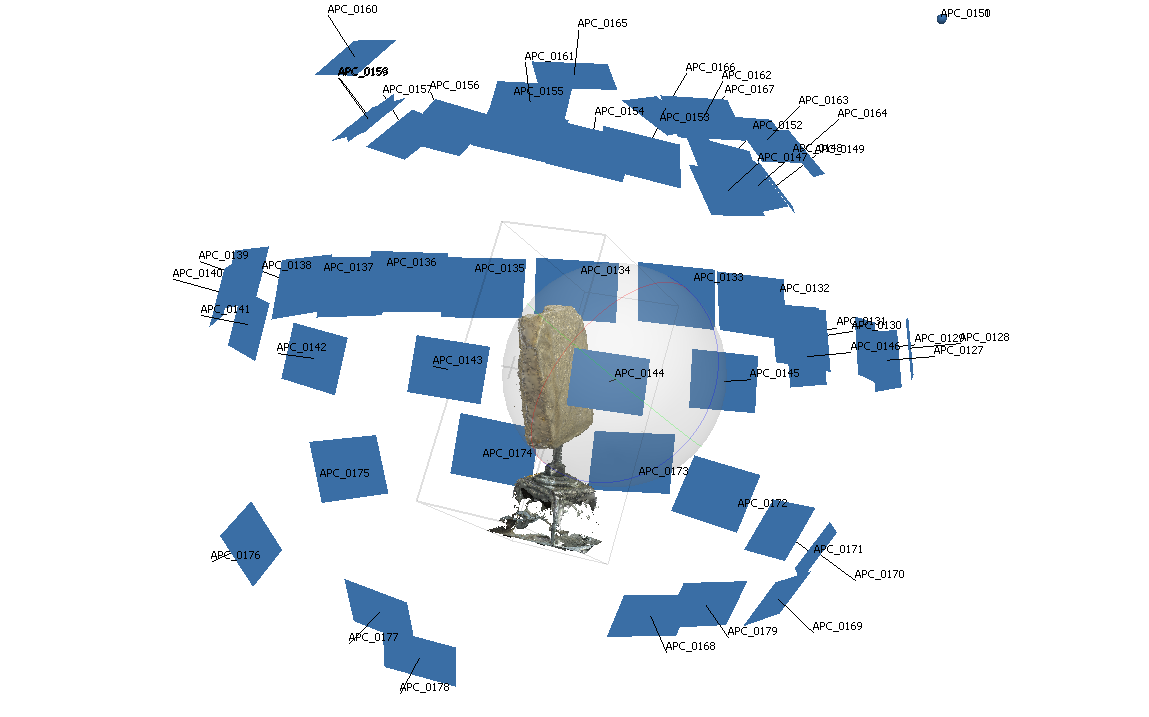
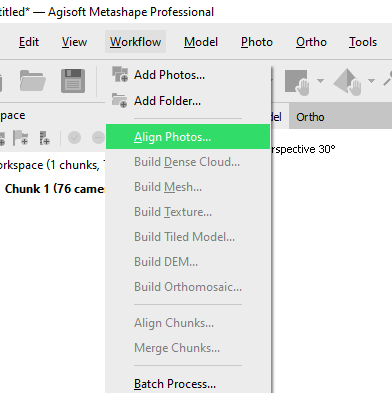
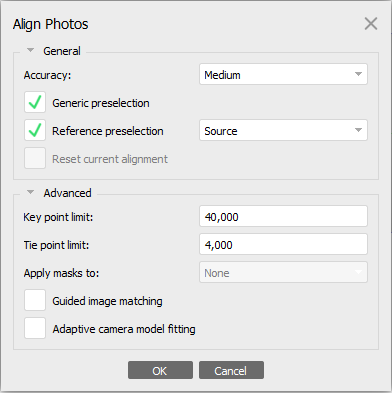
2: Workflow: Align Photos...
Choose Accuracy: Medium or High
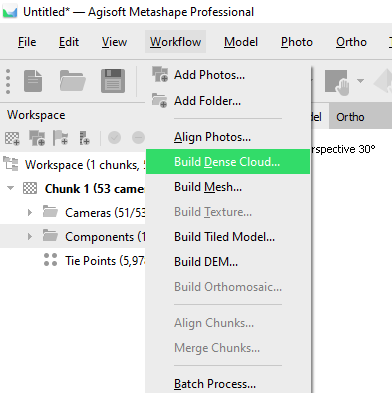
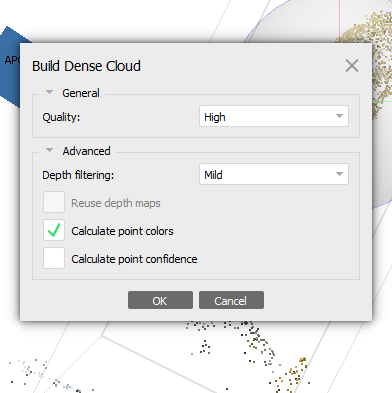
3: Workflow: Build Dense Cloud...
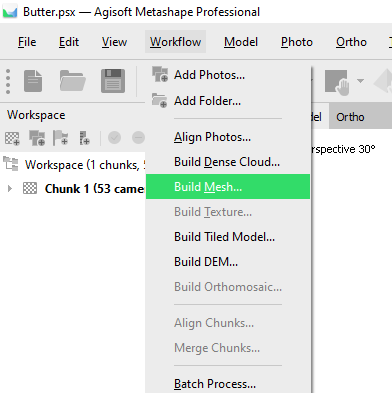
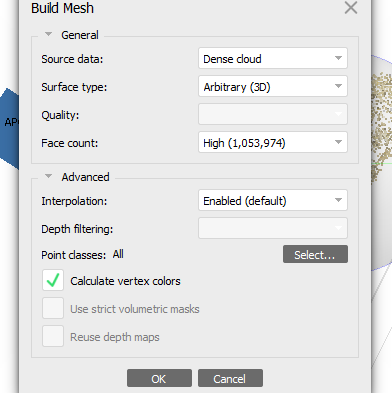
4: Workflow: Build Mesh
Step 3: Remesh and Remap the 3D Scan in Rhino.
Use the 3D Scan Remesh and Remap.gh file. with the Texture map file.
plugins required: Weaverbird, Human