3D Printing
1_Check and Repair
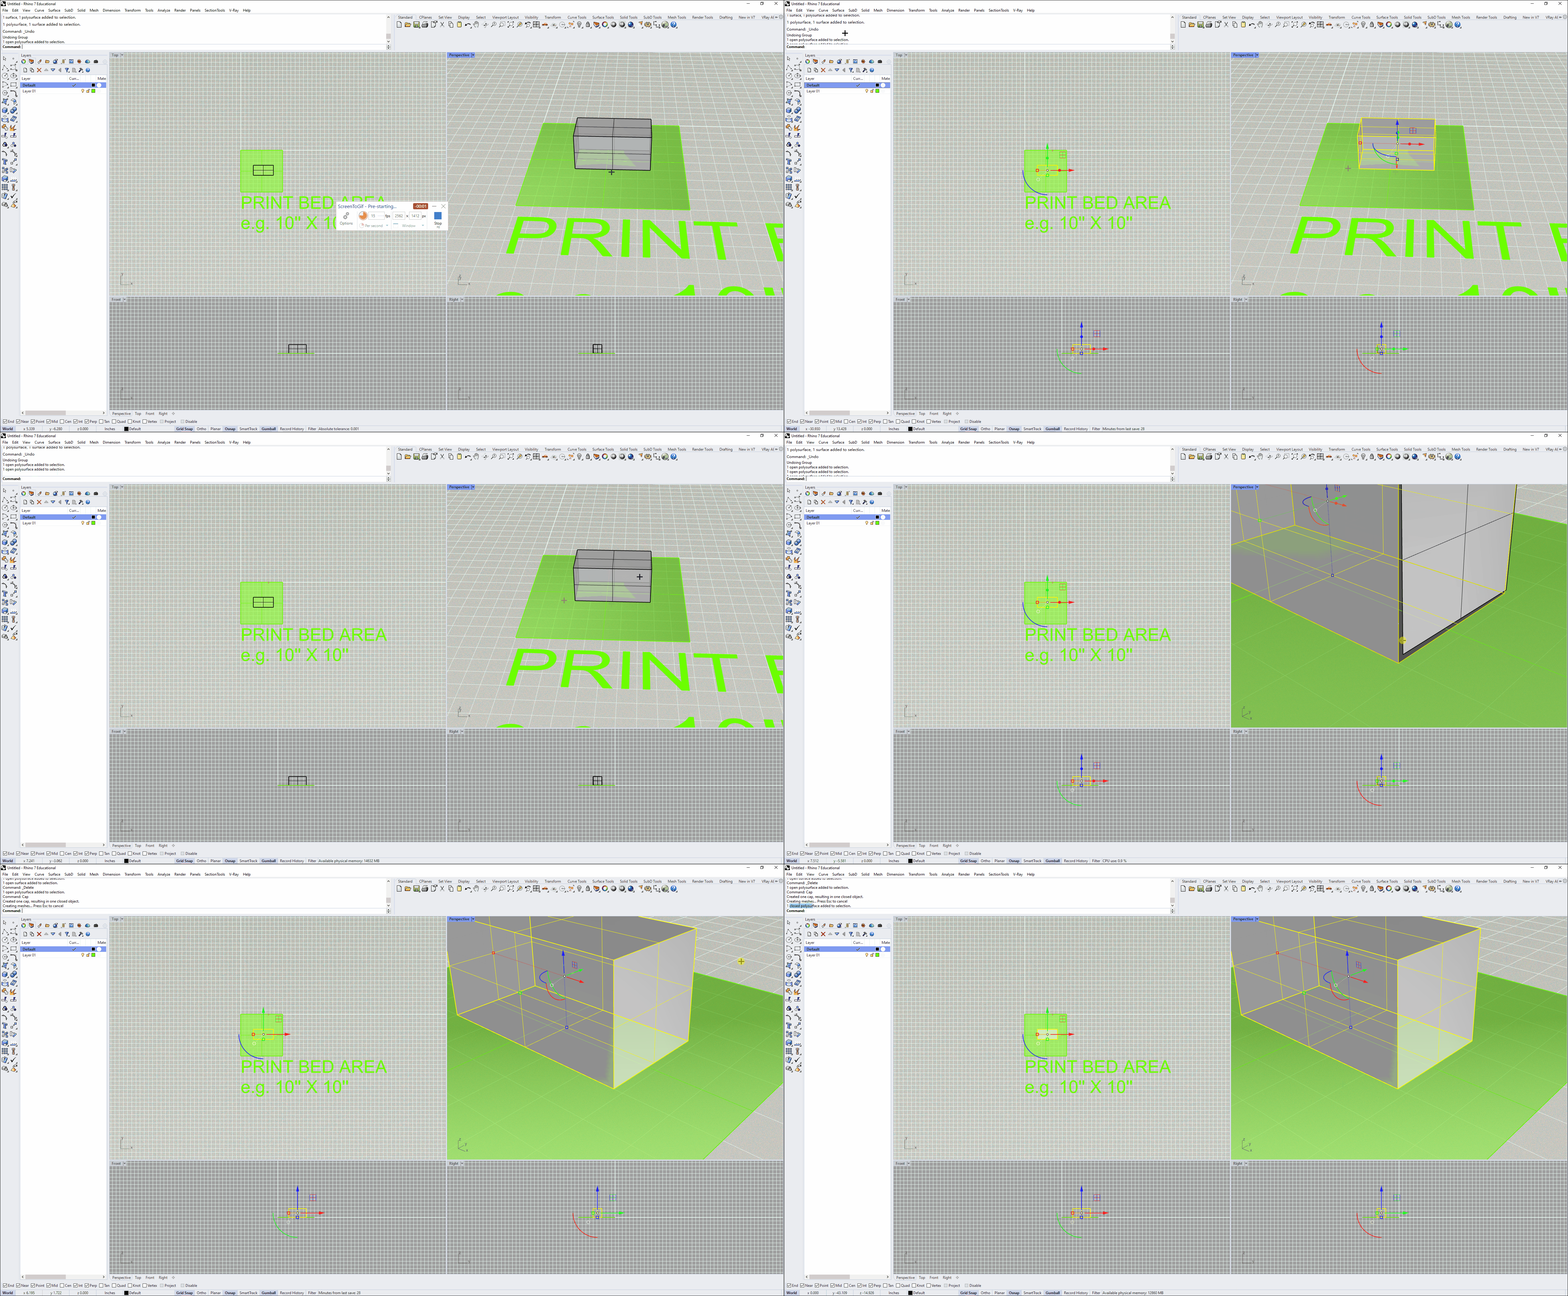
Join all surfaces and check if model has open faces or naked edges. If so, try repairing the model using “Cap” command in Rhino. The model should be a closed polysurface.
2_Scale
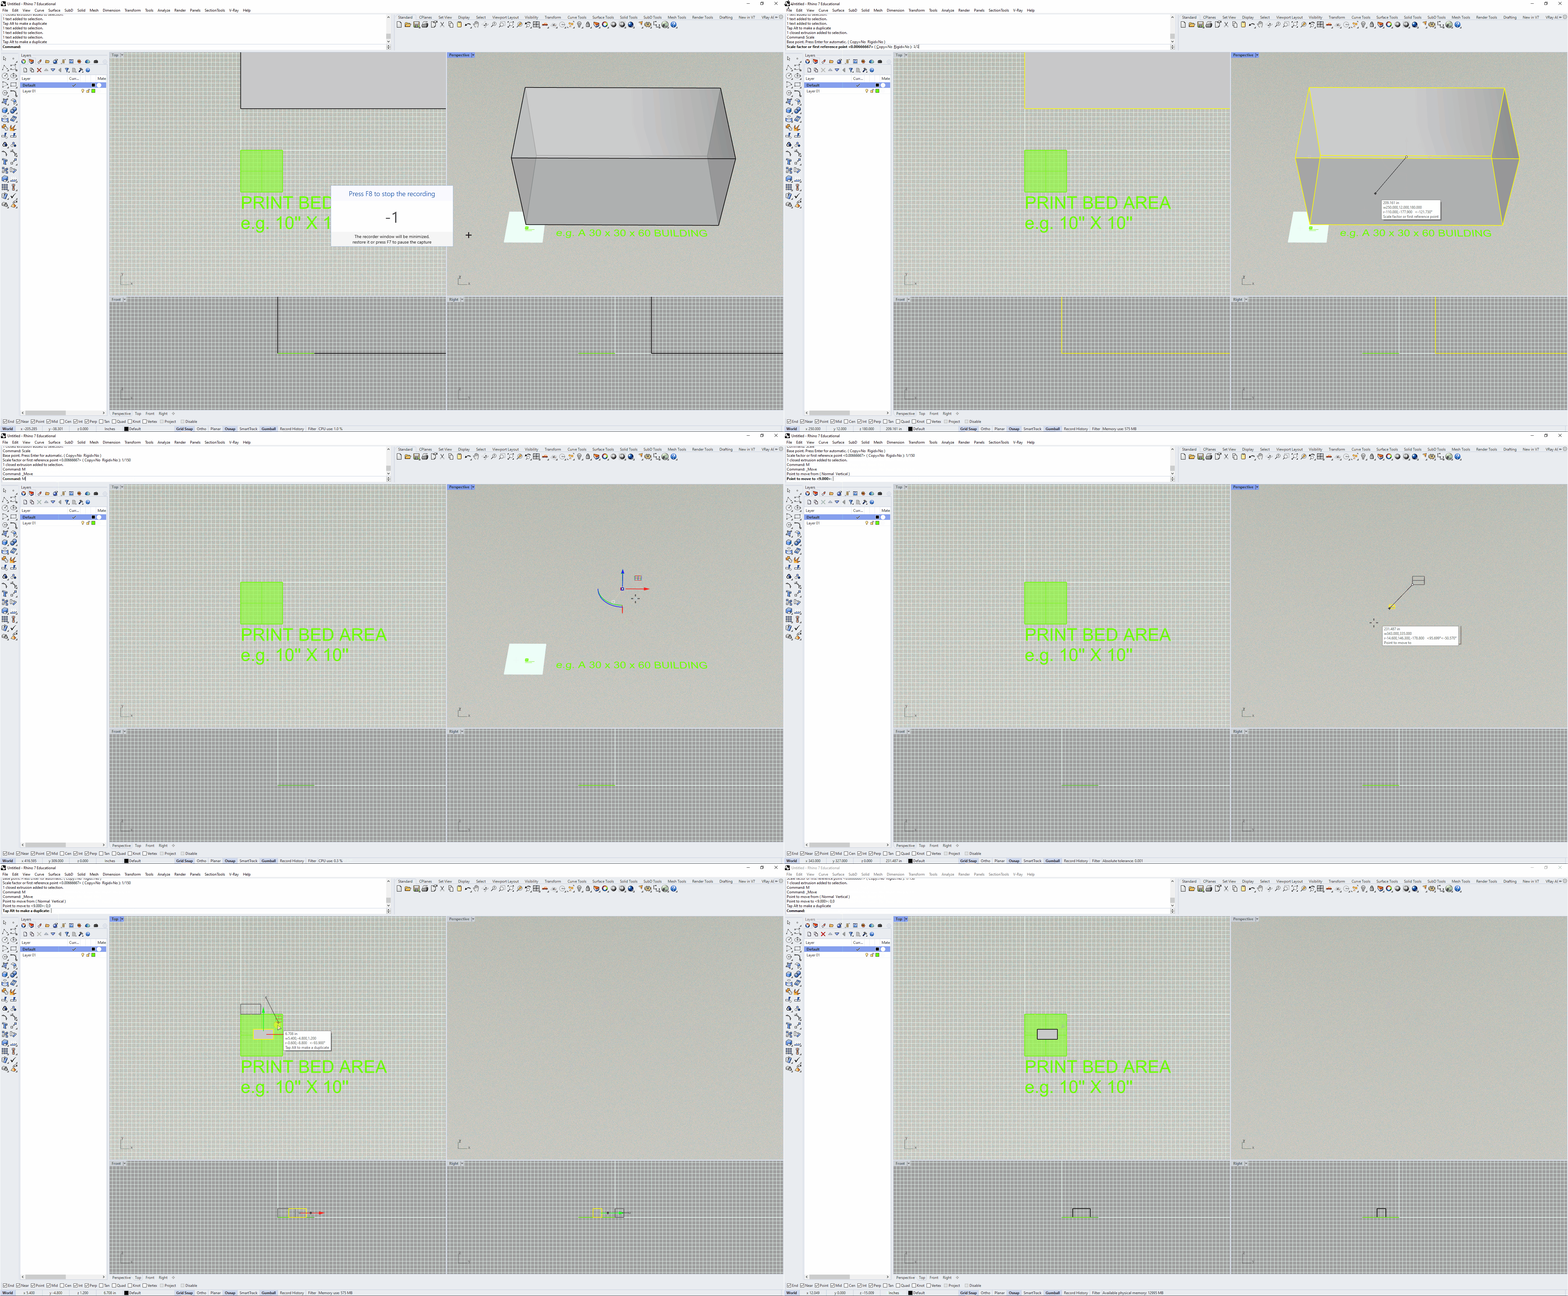
Draw the print area in Rhino for reference. Then use “automatic” option in “Scale” command to scale model down to a suitable size.
3_Change Unit
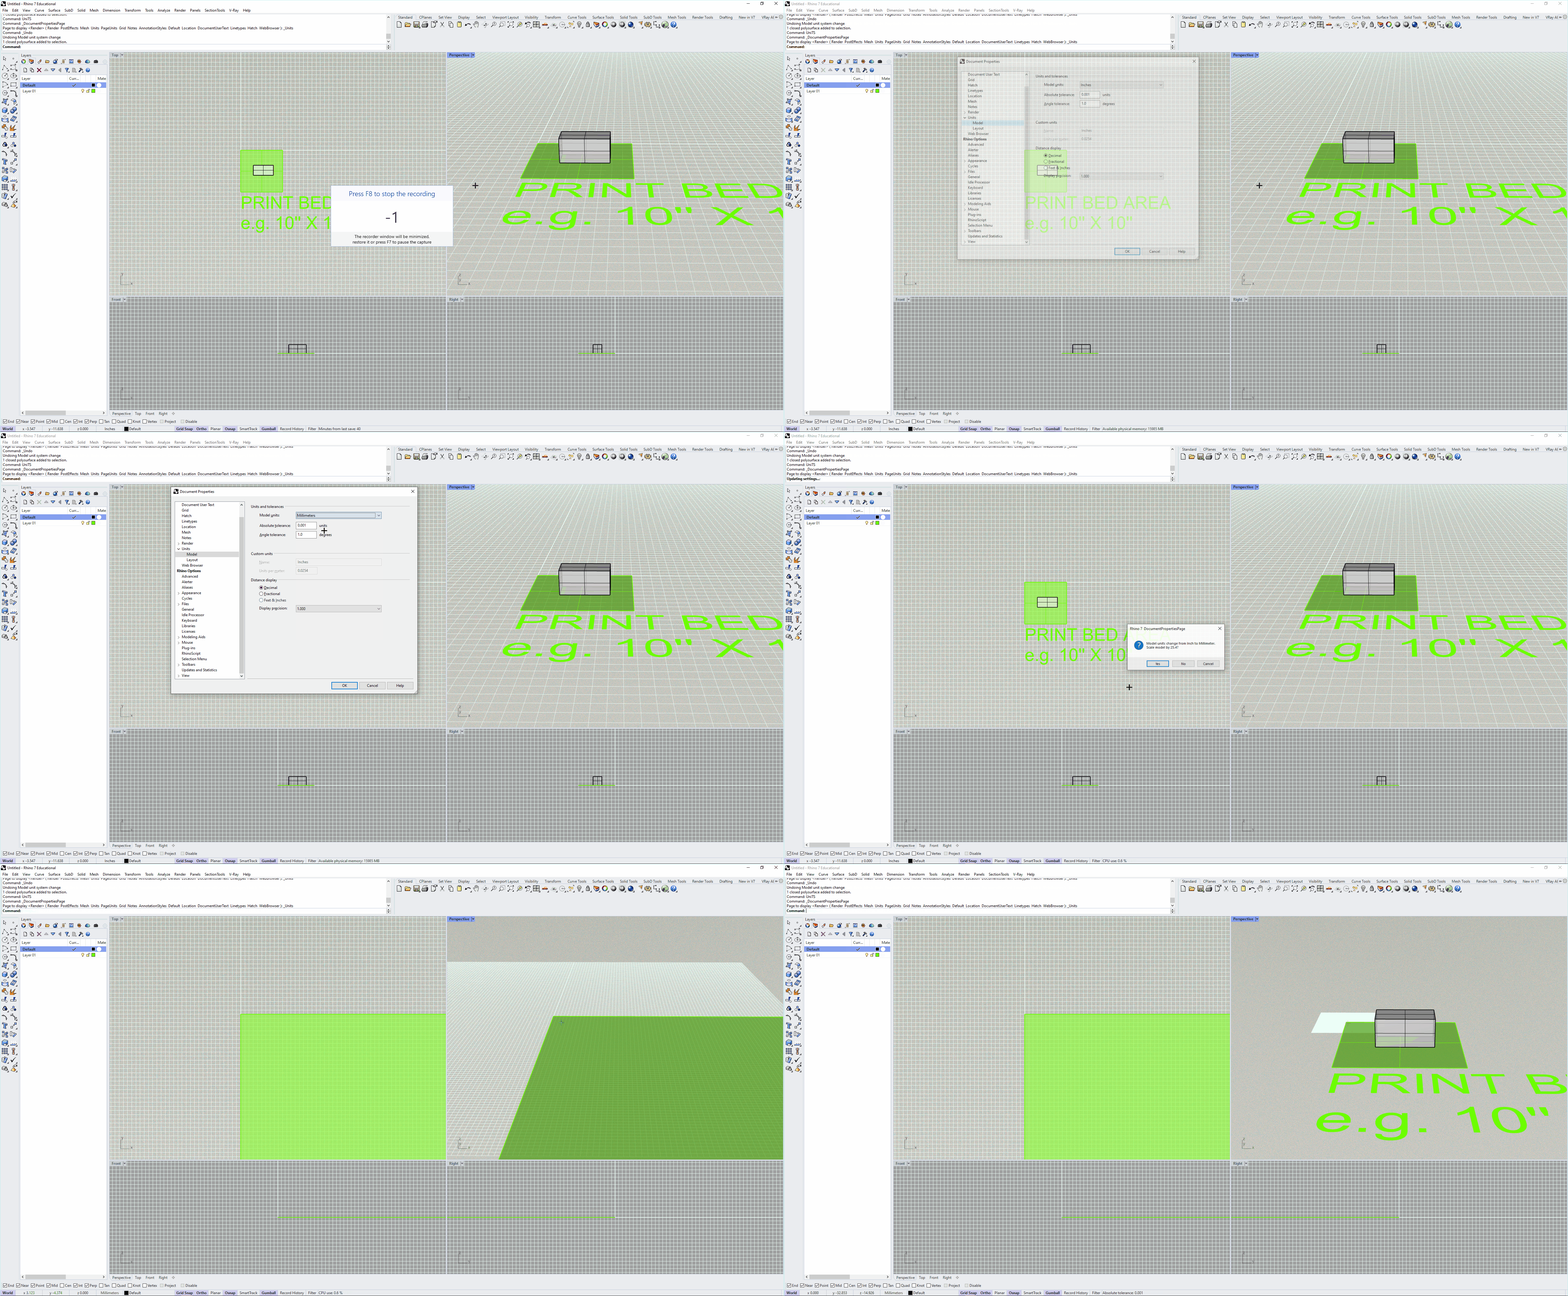
By default FlashPrint slicer read measurements in millimeter. In Rhino, switch unit to millimeter before exporting.
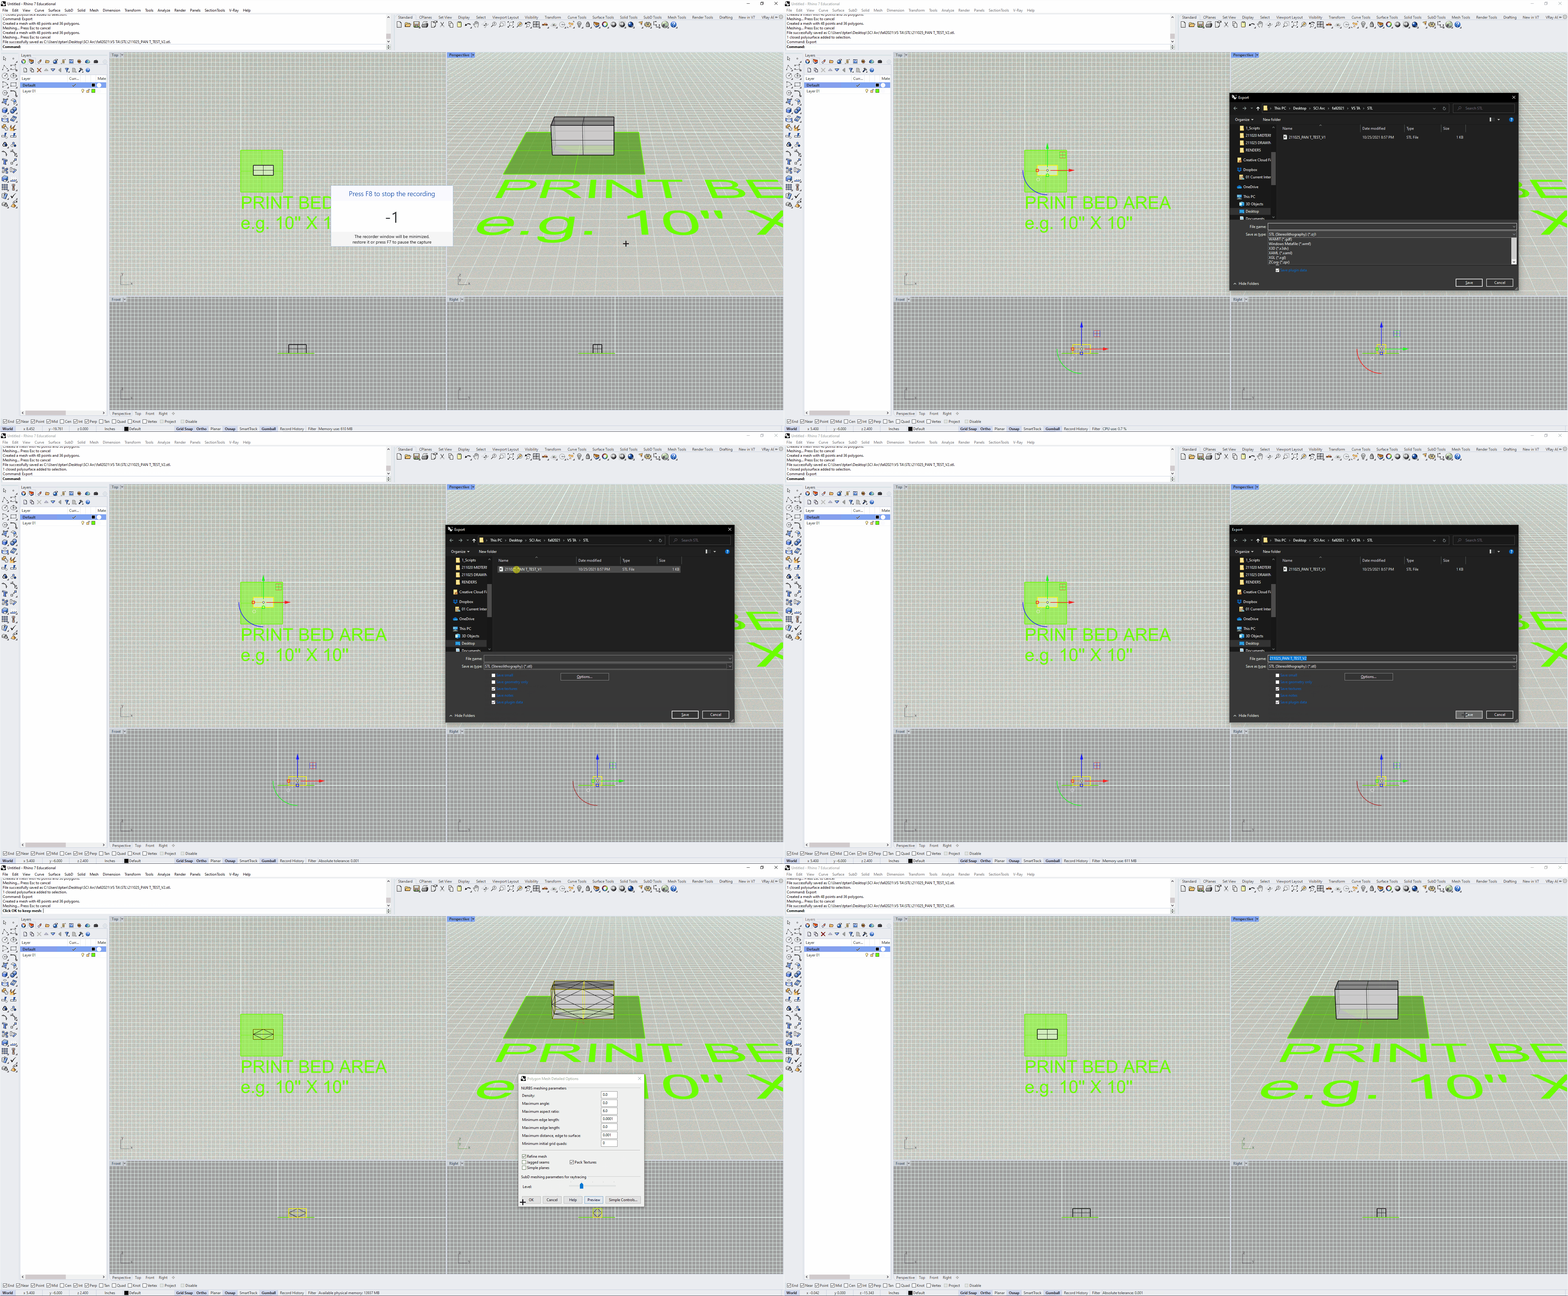
4_Export STL for Slicing
Select model and export as an STL file. Naming is recommended on a shared printer. E.g. YYMMDD_NAME_PROJECT NAME_VIRSION NUMBER
5_Slicing
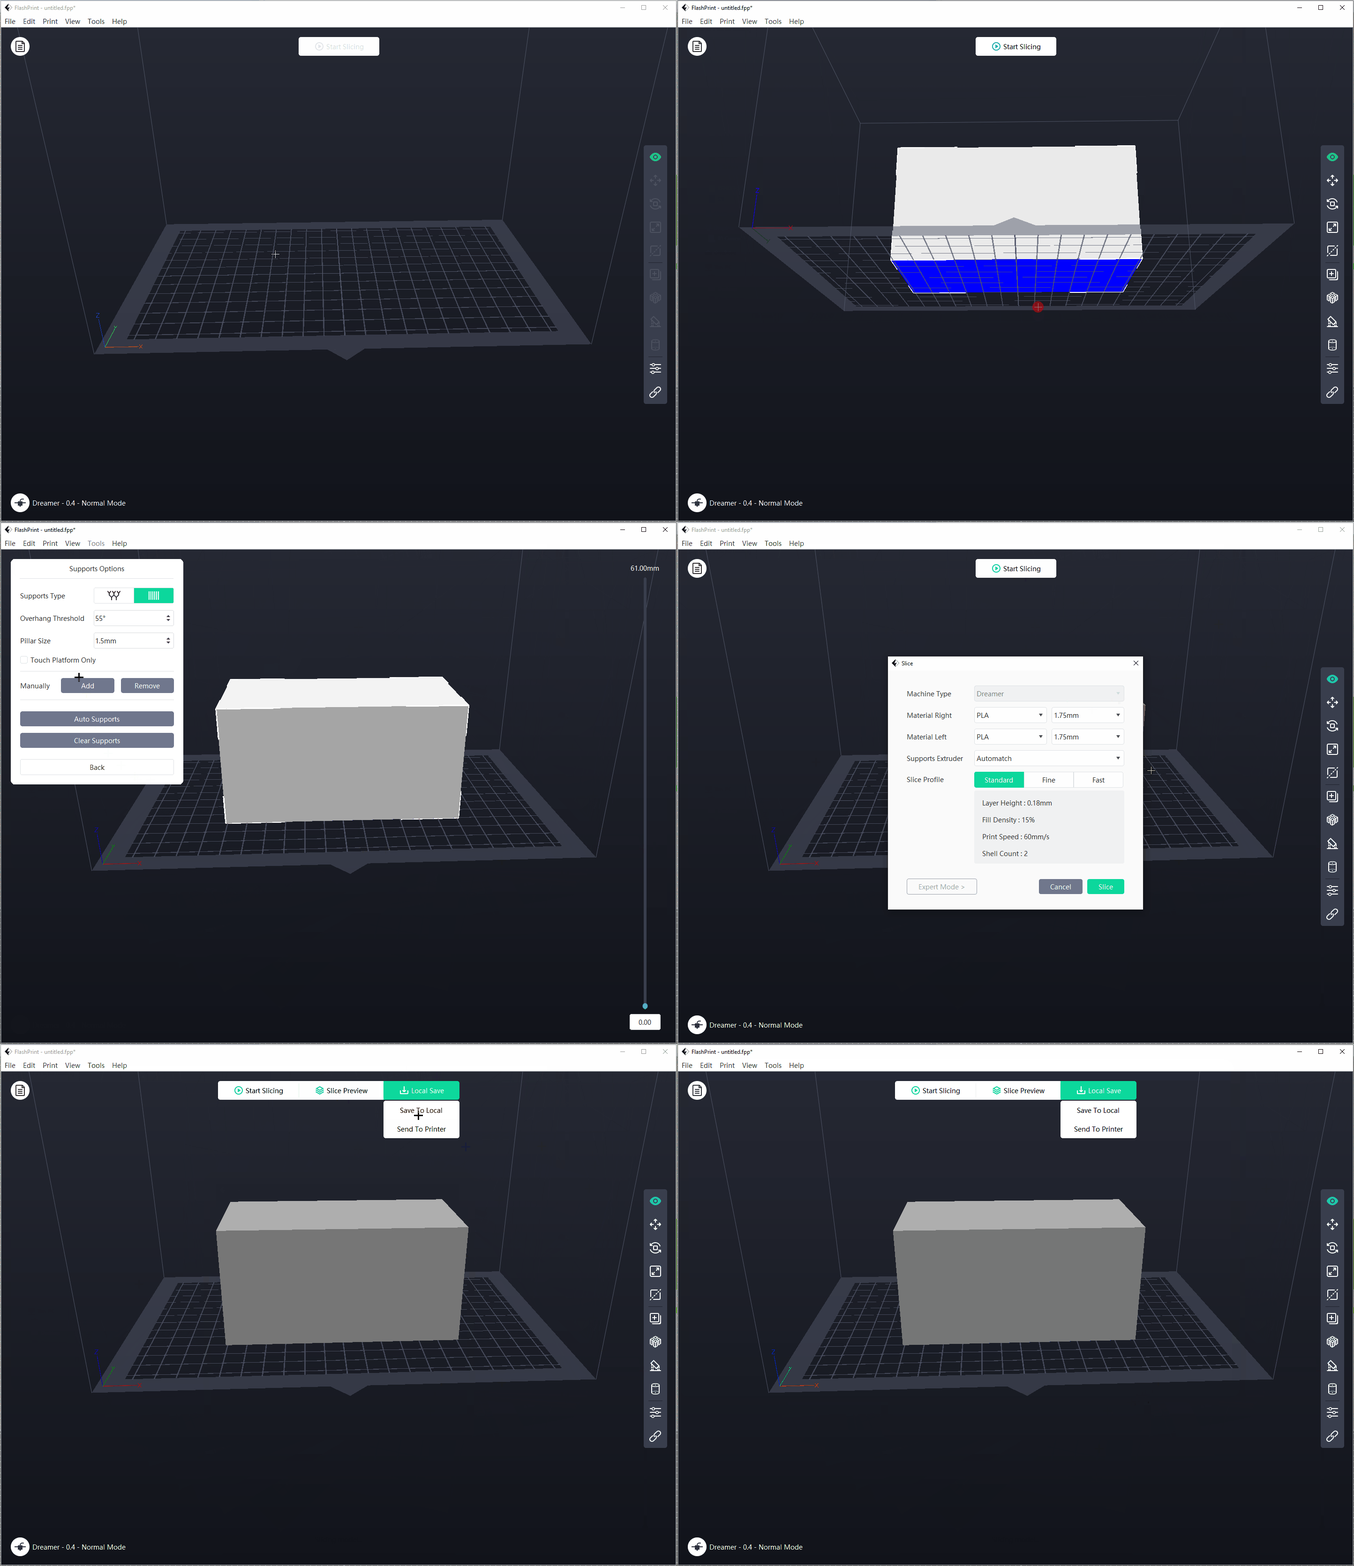
Install and open FlashPrint. Load file or drag STL into viewport. Generate supports for cantilevers using “Supports”. Then click “Start Slicing”. When slicing is done, save the .gx file to an SD card. Now it’s ready to be transferred to a printer!
